34 — 烟花 shader
简介
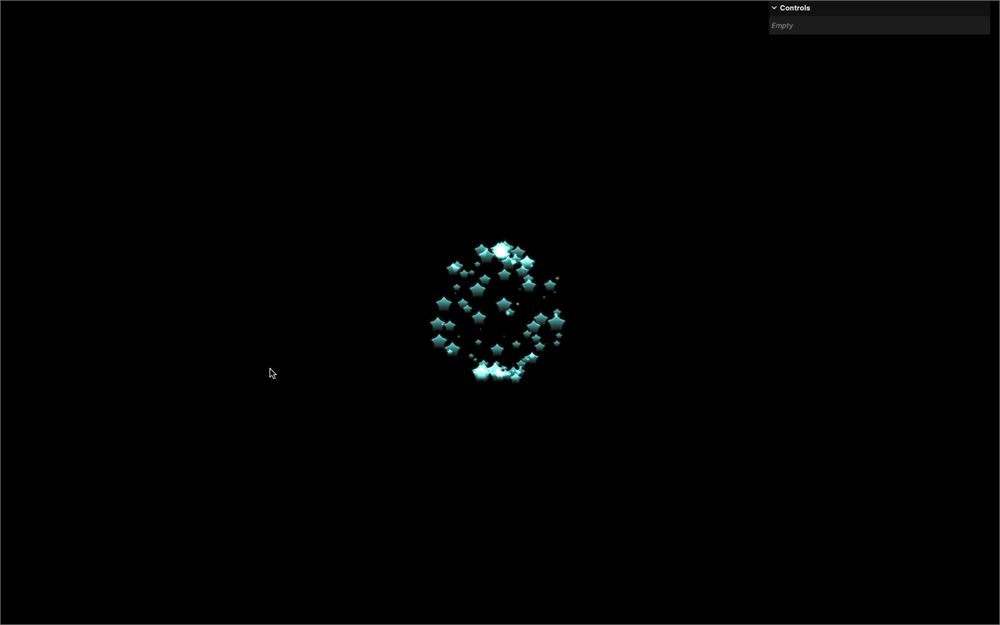
在本课中,我们将创建每当用户点击屏幕时绽放的烟花:
这里的技巧在于,我们将使用 particles 并在单个 vertex shader 中对它们进行动画。
- particles 开始向各个方向快速扩散
- 它们以更快的速度放大
- 它们开始缓慢下落
- 它们缩小
- 它们在消失时闪烁
看上去并不太复杂,对吧?记住,为了获得良好的性能,我们需要在 vertex shader 中完成这些,这意味着同一段代码将为所有 particles 执行。
此外,前面提到的所有动画步骤都是相互交织的,我们需要找到一种方法来处理并将这些不同的步骤组合在一起。
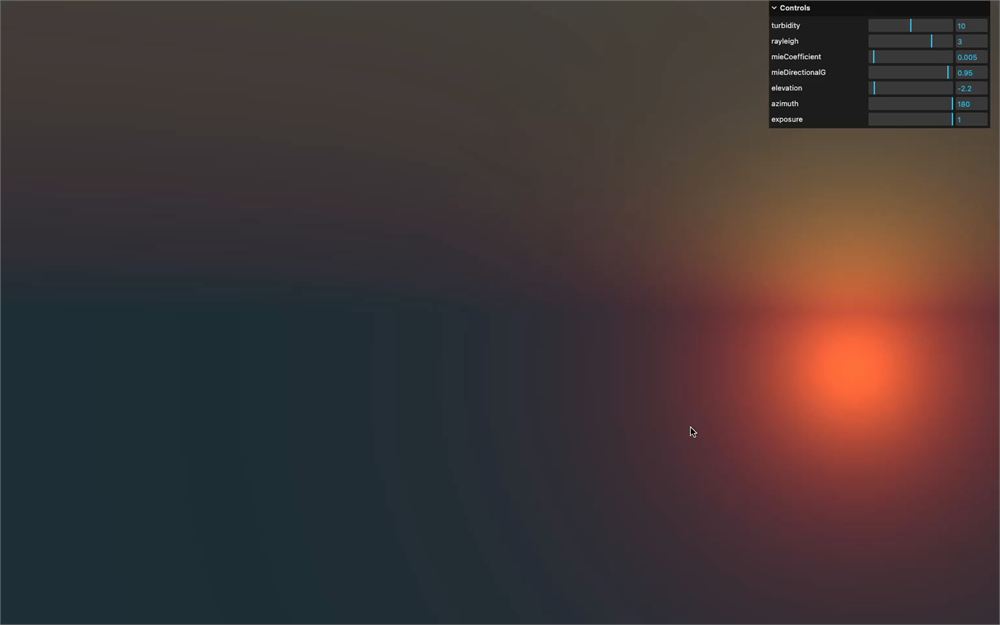
最后,作为奖励,我们还会实现一个天空背景。
准备工作
我们得到了一贯的简单设置,其中有几点需要注意:
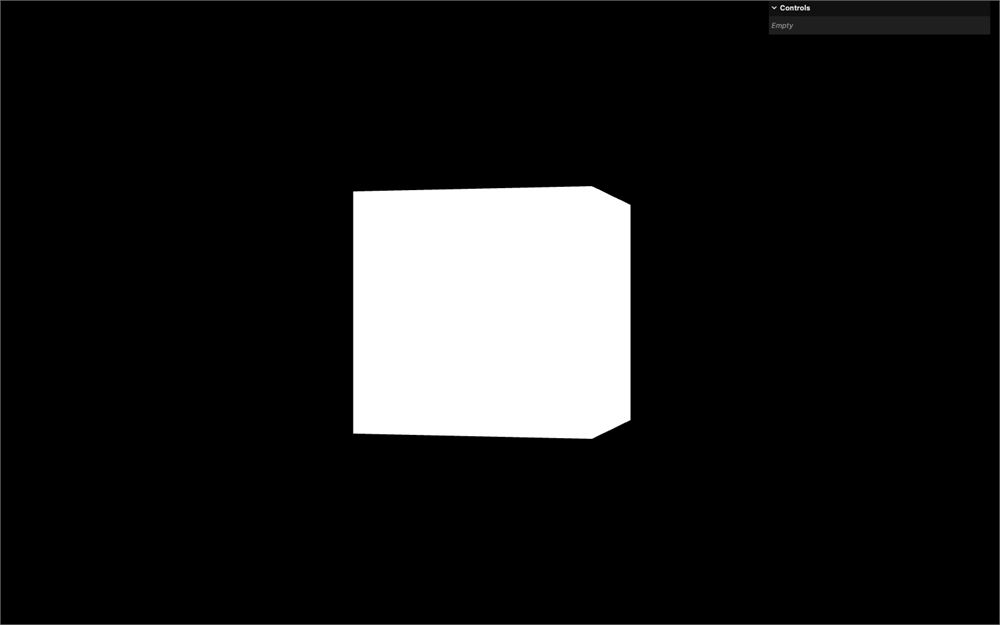
- 一个测试立方体,用来确保体验正常运作
- 一个
lil-gui实例,我们将用它来控制天空 vite-plugin-glsl依赖,用于处理 GLSL 文件OrbitControls,用于旋转视角TextureLoader,已准备好加载一些漂亮的 particle texture- 依赖中的
gsap,我们将用它来为单个属性做动画
基础 particles
让我们创建 particles 来取代那个立方体。
删除整个带有立方体的 Test 部分,并在 Animate 部分之前创建一个 Fireworks 部分:
/**
 * Fireworks
 */
接下来几分钟我们将看到黑屏。
由于我们需要在每次点击时创建一个新的烟花,最好为它设置一个函数。
创建一个 createFirework 函数并立即调用它:
const createFirework = () =>
{

}

createFirework()
我们会在进行过程中不断添加各种参数,例如位置、半径、particles 数量等。
接下来大部分代码都会放在 createFirework 内。
Geometry
我们将实例化一贯的 BufferGeometry,并用随机位置填充它,但首先,我们需要知道想要多少个 particles。
给 createFirework 函数添加一个 count 参数,并在调用该函数时将其设为 100:
const createFirework = (count) =>
{

}

createFirework(100)
别担心,很快我们就会添加更多的参数。
现在使用一个长度为 count * 3 的 Float32Array 创建 positionsArray,因为每个 vertex 需要 3 个值(xyz):
const createFirework = (count) =>
{
    // Geometry
    const positionsArray = new Float32Array(count * 3)
}
从 0 循环到 count,创建一个 i3,它是 i * 3,以便我们得到一个每次递增 3、也就是以 3 为步长的值,并用随机值填充 positionsArray 数组:
const createFirework = (count) =>
{
    // Geometry
    const positionsArray = new Float32Array(count * 3)

    for(let i = 0; i < count; i++)
    {
        const i3 = i * 3

        positionsArray[i3    ] = Math.random()
        positionsArray[i3 + 1] = Math.random()
        positionsArray[i3 + 2] = Math.random()
    }
}
我们快速地过一遍这部分,因为这个操作我们之前已经做过很多次了。不过简单来说:每一次循环对应一个 vertex。目前我们只是用随机位置填充数组,但之后我们会发送更具体的坐标。
为每个 Math.random() 减去 0.5,使取值为正和为负的概率一样大:
const createFirework = (count) =>
{
    // Geometry
    const positionsArray = new Float32Array(count * 3)

    for(let i = 0; i < count; i++)
    {
        const i3 = i * 3

        positionsArray[i3    ] = Math.random() - 0.5
        positionsArray[i3 + 1] = Math.random() - 0.5
        positionsArray[i3 + 2] = Math.random() - 0.5
    }
}
现在我们可以创建真正的 BufferGeometry 了:
const createFirework = (count) =>
{
    // ...

    const geometry = new THREE.BufferGeometry()
}
然后,使用 Float32BufferAttribute 为它添加一个 'position' attribute:
const createFirework = (count) =>
{
    // ...

    const geometry = new THREE.BufferGeometry()
    geometry.setAttribute('position', new THREE.Float32BufferAttribute(positionsArray, 3))
}
3 对应 itemSize,表示每个 vertex 有 3 个值(因为 xyz)。
Material
对于 material,我们先不急于求成,从一个 PointsMaterial 开始,之后再将其替换为 ShaderMaterial:
const createFirework = (count) =>
{
    // ...

    // Material
    const material = new THREE.PointsMaterial()
}
Points
我们终于可以创建 particles 了,我们将它命名为 firework(单数),并使用一个 Points 实例,然后用 add() 将其添加到 scene 中:
const createFirework = (count) =>
{
    // ...

    // Points
    const firework = new THREE.Points(geometry, material)
    scene.add(firework)
}
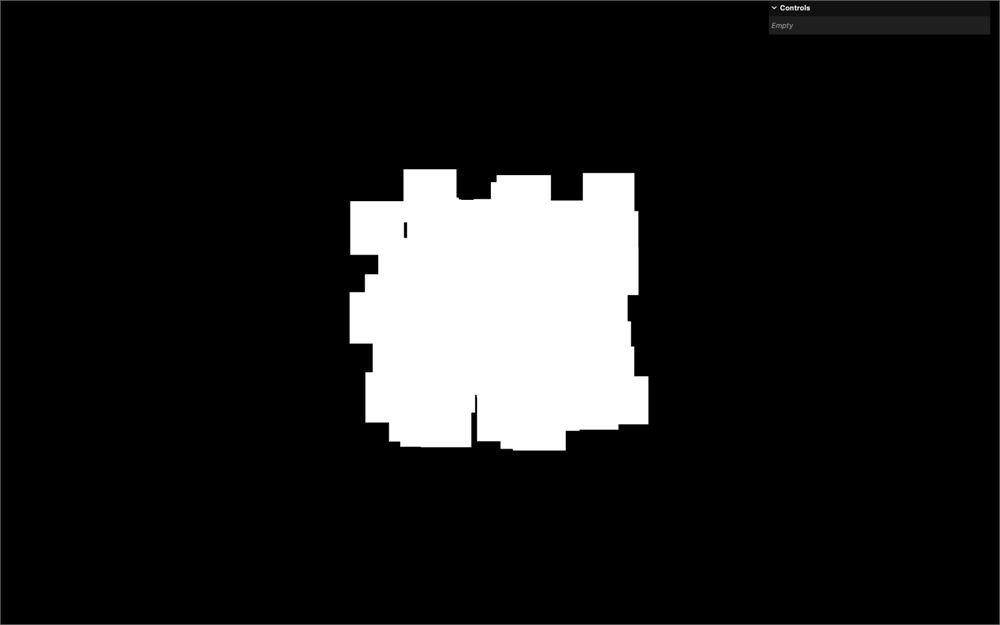
终于,我们在屏幕上看到了东西,而前方还有一段漫长而令人兴奋的路要走。
我们将根据一个 position 参数来改变 firework 的 position:
const createFirework = (count, position) =>
{
    // ...

    // Points
    const firework = new THREE.Points(geometry, material)
    firework.position.copy(position)
    scene.add(firework)
}

createFirework(100, new THREE.Vector3())
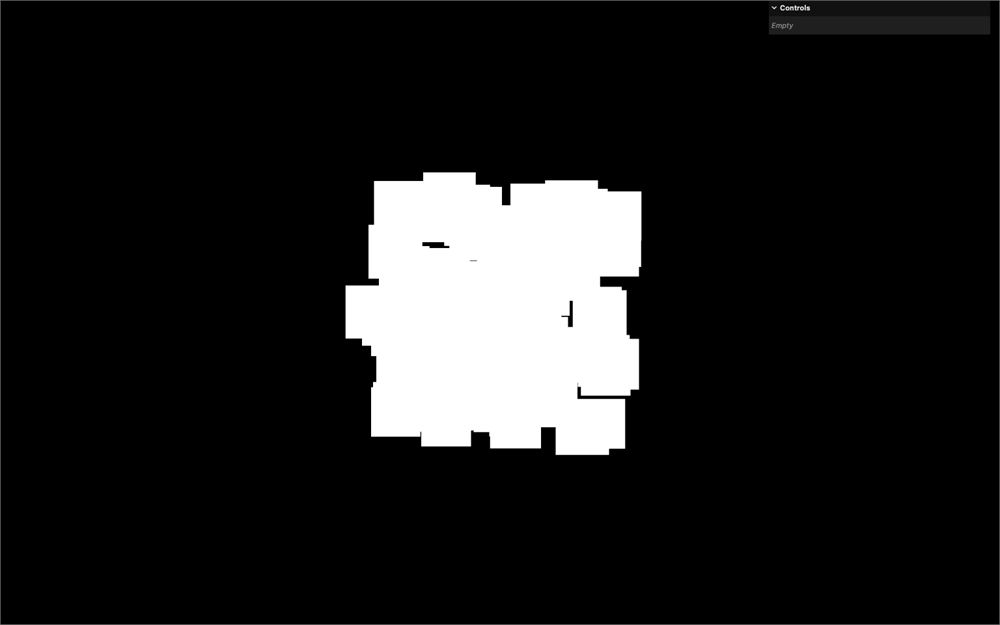
目前还不太有用,但一旦我们在每次点击时随机放置它们,它就会派上用场。
自定义 shader
在 src/ 中,创建一个 shaders/firework/ 文件夹。
在 src/shaders/firework/ 文件夹中,创建一个 vertex.glsl 文件,并添加定位 vertices 所需的最小程序:
void main()
{
    // Final position
    vec4 modelPosition = modelMatrix * vec4(position, 1.0);
    vec4 viewPosition = viewMatrix * modelPosition;
    gl_Position = projectionMatrix * viewPosition;
}
我们把 modelPosition 和 viewPosition 分开,因为稍后我们会需要 viewPosition。
由于我们处理的是 particles(官方名为 points),我们还需要设置 gl_PointSize。暂时将其设为 20.0,它应该对应 20 个 fragments:
void main()
{
    // ...

    // Final size
    gl_PointSize = 20.0;
}
仍在 src/shaders/firework/ 文件夹中,创建一个 fragment.glsl 文件,并添加为 fragments 着粉色所需的最小程序。哦,别忘了 tonemapping_fragment 和 colorspace_fragment 这两个 include:
void main()
{
    // Final color
    gl_FragColor = vec4(1.0, 0.0, 1.0, 1.0);
    #include <tonemapping_fragment>
    #include <colorspace_fragment>
}
使用 shader 文件
回到 script.js,将这两个 shader 分别导入为 fireworkVertexShader 和 fireworkFragmentShader:
import fireworkVertexShader from './shaders/firework/vertex.glsl'
import fireworkFragmentShader from './shaders/firework/fragment.glsl'
将 PointsMaterial 替换为 ShaderMaterial,并在 vertexShader 和 fragmentShader 属性上使用这两个 shader:
const createFirework = (count, position) =>
{
    // ...
    const material = new THREE.ShaderMaterial({
        vertexShader: fireworkVertexShader,
        fragmentShader: fireworkFragmentShader
    })
    // ...
}
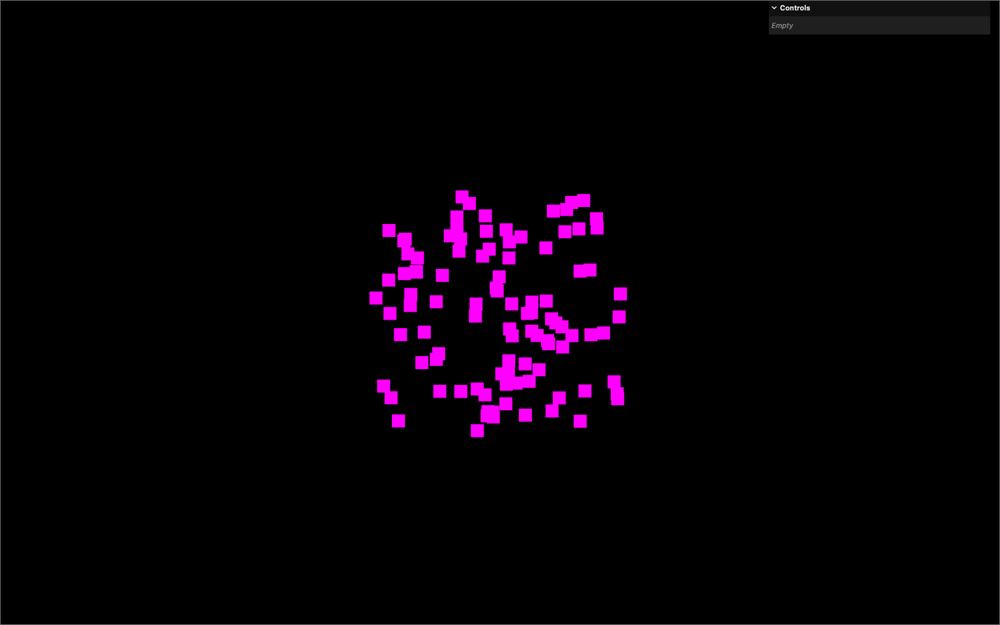
尺寸
首先,让我们处理尺寸。我们将采用与之前课程类似的方法,但要更进一步,更恰当、更可靠地处理这件事。
透视
正如我们在之前的课程中所见,要为 particles 添加透视(让它们越远越小),我们需要将 gl_PointSize 乘以 1.0 / - viewPosition.z。
这是我们从 Three.js shader chunks 中借鉴的一个技巧,在这种情况下它会继续工作得很好:
void main()
{
    // ...
    gl_PointSize = 20.0;
    gl_PointSize *= 1.0 / - viewPosition.z;
}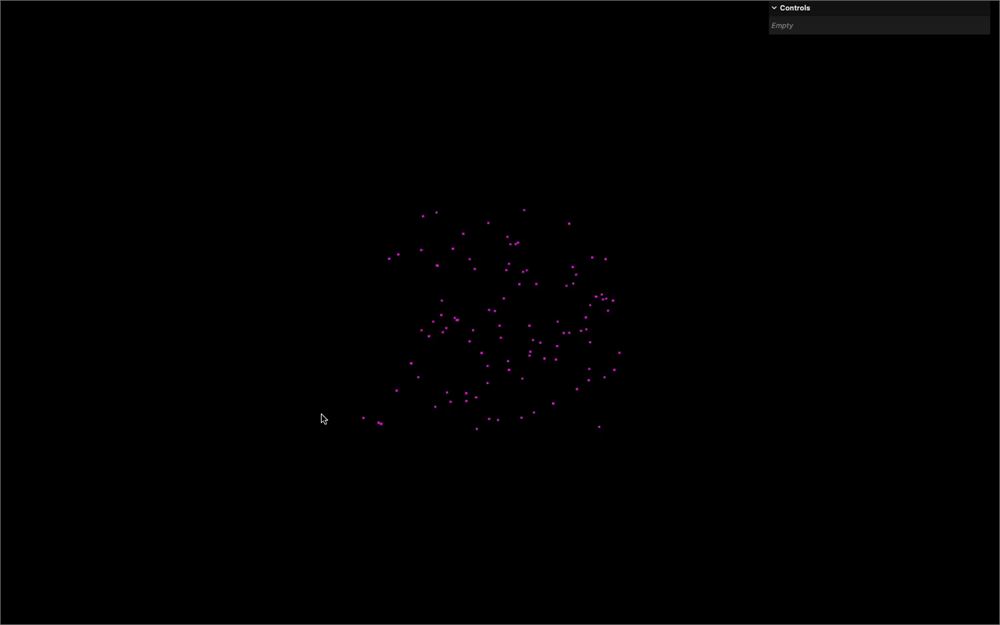
现在 particles 会随着距离变小了,但它们有点太小了。把初始的 gl_PointSize 设为 50.0:
void main()
{
    // ...
    gl_PointSize = 50.0;
    // ...
}
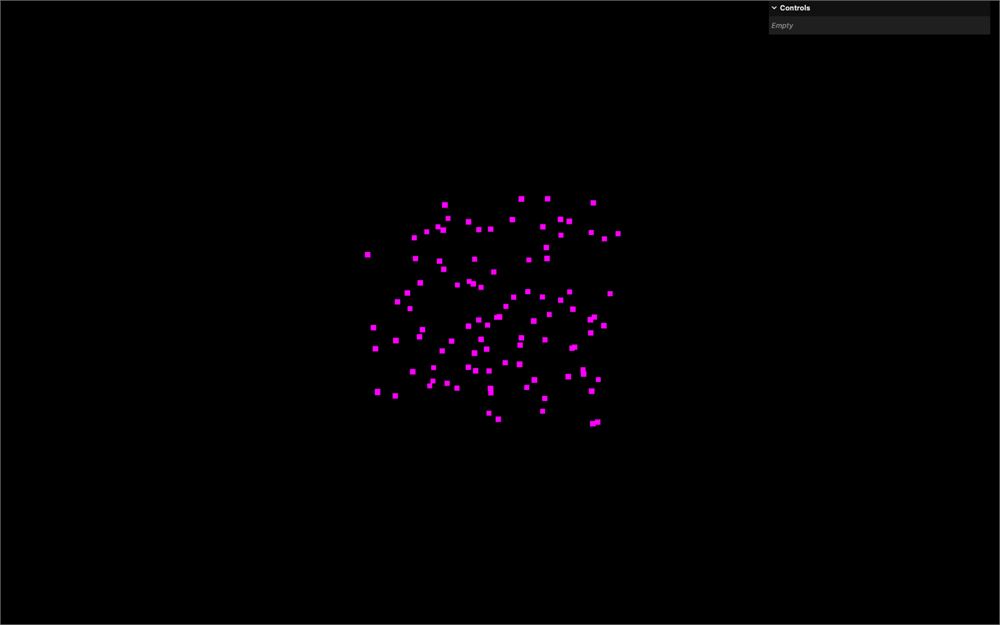
这时,你可能会注意到你的 particles 比我的更小。这是因为没有考虑 pixel ratio。
对于相似的屏幕表面,你有更多的 pixels,使得 particles 看起来更小,因为它们本应覆盖 50 个 pixels。这正是我们接下来要修复的。
Uniform
我们现在想用一个 uniform 来控制尺寸。使用一个 Uniform 实例向 ShaderMaterial 添加一个 uSize uniform,并将其设为 50:
const createFirework = (count, position) =>
{
    // ...

    const material = new THREE.ShaderMaterial({
        // ...
        uniforms:
        {
            uSize: new THREE.Uniform(50)
        }
    })

    // ...
}
回到 vertex shader,将 uSize uniform 作为 float 获取,并将其发送给 gl_PointSize,取代原来硬编码的 50.0:
uniform float uSize;

void main()
{
    // ...

    // Final size
    gl_PointSize = uSize;
    gl_PointSize *= 1.0 / - viewPosition.z;
}
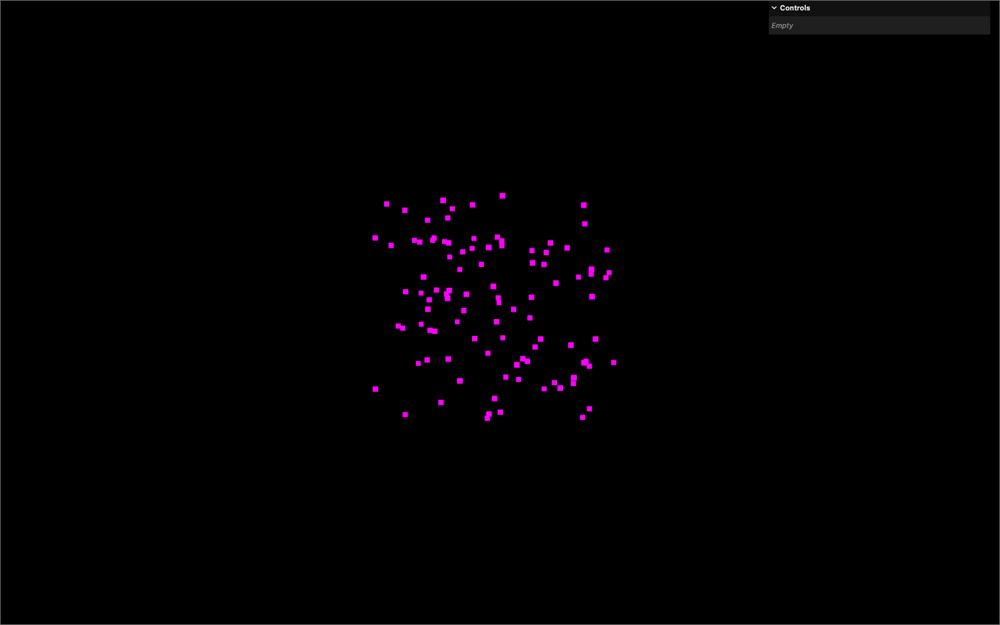
现在给 createFirework 函数添加一个 size 参数,将其传给 uSize uniform,并在调用 createFirework 函数时将其设为 50:
const createFirework = (count, position, size) =>
{
    // ...

    const material = new THREE.ShaderMaterial({
        // ...
        uniforms:
        {
            uSize: new THREE.Uniform(size)
        }
    })

    // ...
}

createFirework(100, new THREE.Vector3(), 50)
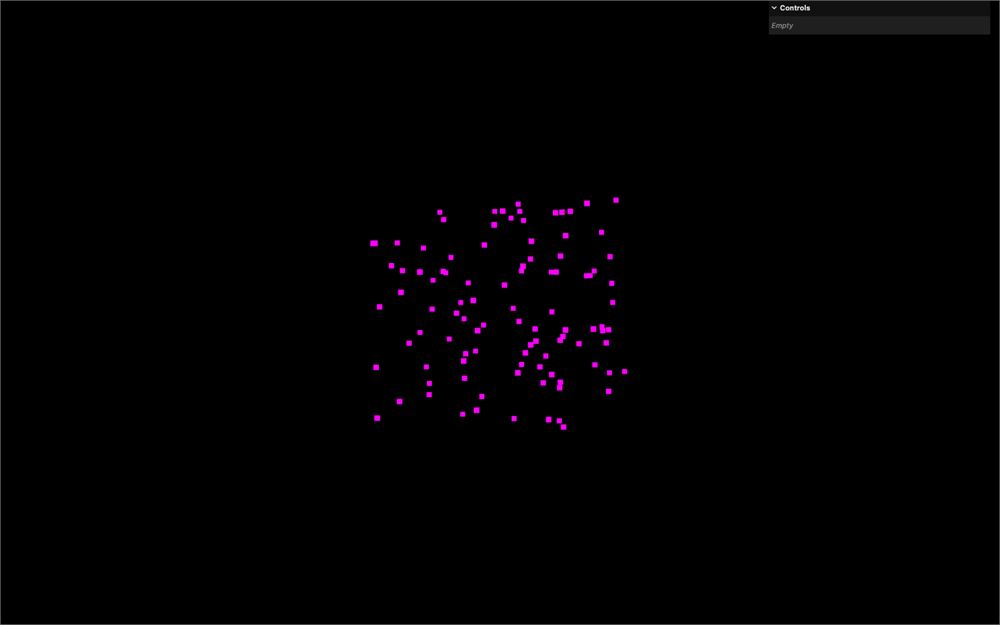
我们得到了与之前相同的结果,但现在可以通过 createFirework 的参数来控制尺寸了。
由于 createFirework 的参数开始变得很多,请随意添加换行和注释:
createFirework(
    100,                 // Count
    new THREE.Vector3(), // Position
    50                   // Size
)
与 render 高度成比例
现在还有两个问题要解决。众所周知的一个是前面提到的 pixel ratio,但另一个不太为人所知的问题是与 render 高度相关的尺寸。
要测试这一点,请垂直调整窗口大小,并观察 particles 的表现。
它们保持同样的尺寸。你可能会想,这很正常。嗯,其实并不然。在 Three.js 中,camera 的 FOV 是垂直的,这意味着对于固定的 FOV,物体尺寸会相对于高度保持不变。
让我们做一个快速测试来理解这一点。
在 createFirework 函数之外,创建一个白色平面:
// Test
const test = new THREE.Mesh(
    new THREE.PlaneGeometry(),
    new THREE.MeshBasicMaterial()
)
scene.add(test)
现在垂直调整窗口大小,看看平面如何变小。
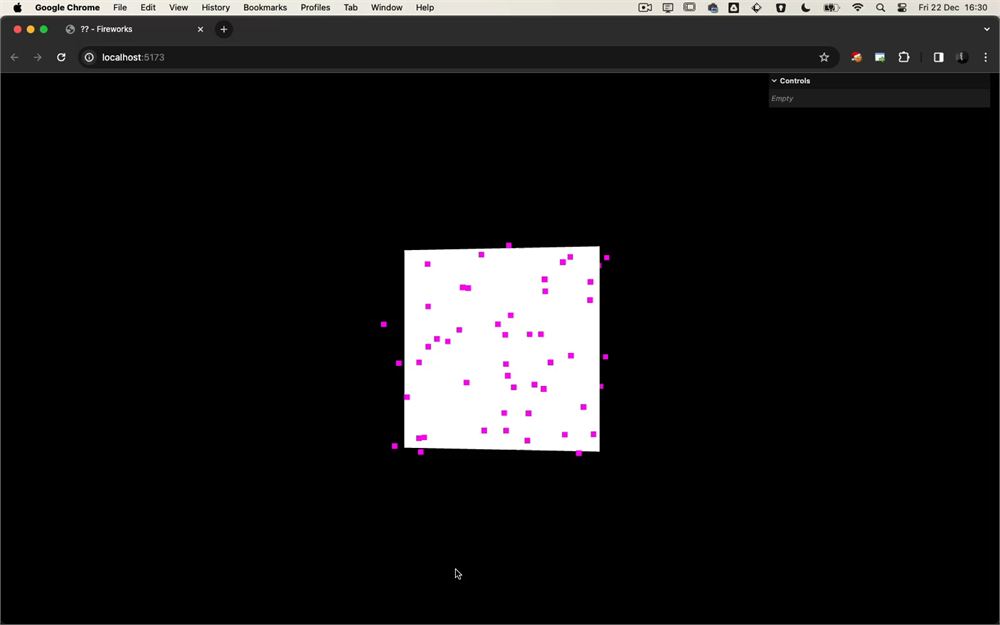
平面会随着 render 高度调整大小,我们需要 particles 也做到同样的事情。
在之前的课程中,我们只处理了 pixel ratio。在本课中,我们要把事情做对。
删除测试平面。
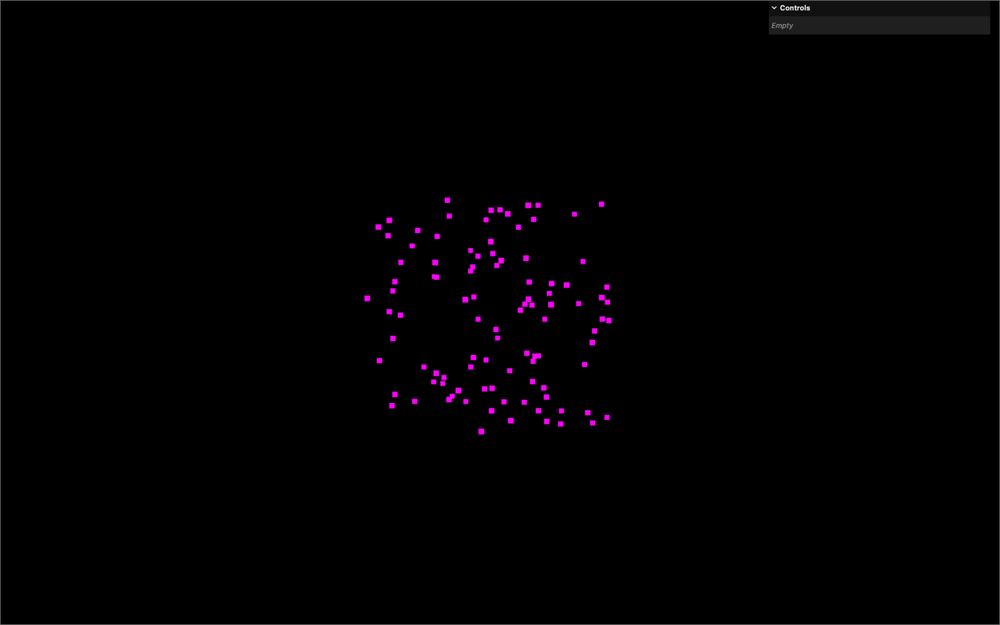
首先,我们需要将 render 的分辨率发送给 shader。
使用一个 Uniform 实例创建 uResolution,并向它发送一个 Vector2,其值为 sizes.width 和 sizes.height:
const createFirework = (count, position, size) =>
{
    // ...

    const material = new THREE.ShaderMaterial({
        // ...
        uniforms:
        {
            // ...
            uResolution: new THREE.Uniform(new THREE.Vector2(sizes.width, sizes.height))
        }
    })

    // ...
}
在 resize 回调函数中,我们想更新那个 uniform,但我们遇到了一个问题。
我们无法访问 material,因为它是在 createFirework 函数中创建的。
我们不能简单地在函数外部创建它,因为我们需要一些 createFirework 的参数来正确设置它。
相反,我们要做的是在 sizes 中创建一个 Vector2:
const sizes = {
    width: window.innerWidth,
    height: window.innerHeight
}
sizes.resolution = new THREE.Vector2(sizes.width, sizes.height)
并将其发送给 uResolution uniform:
const createFirework = (count, position, size) =>
{
    // ...

    const material = new THREE.ShaderMaterial({
        // ...
        uniforms:
        {
            // ...
            uResolution: new THREE.Uniform(sizes.resolution)
        }
    })

    // ...
}
现在我们可以在 resize 回调函数中访问它,并且可以更新它:
window.addEventListener('resize', () =>
{
    // Update sizes
    sizes.width = window.innerWidth
    sizes.height = window.innerHeight
    sizes.resolution.set(sizes.width, sizes.height)

    // ...
})
同时拥有 width、height 和 resolution 可能听起来有些冗余,但很快它就会派上用场。
让我们在 vertex shader 中将 uResolution uniform 作为 vec2 获取:
uniform float uSize;
uniform vec2 uResolution;

void main()
{
    // ...
}
现在我们可以通过乘以 uResolution.y 在 gl_PointSize 中使用它:
void main()
{
    // ...

    // Final size
    gl_PointSize = uSize * uResolution.y;
    gl_PointSize *= 1.0 / - viewPosition.z;
}
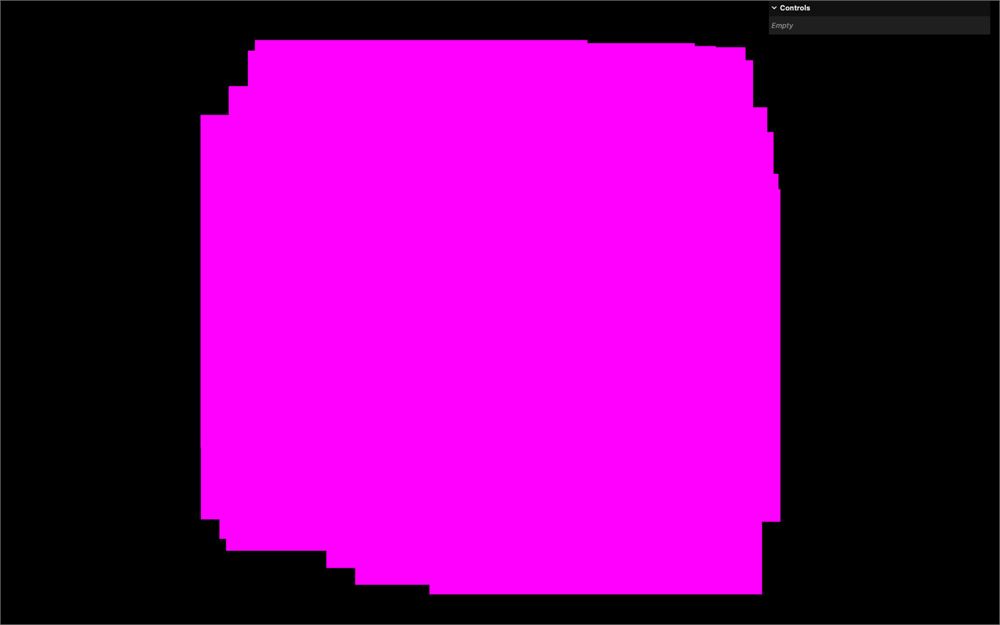
现在 particles 太大了。
有些人可能还会注意到,particles 并不像截图中那么大。这是由于一个限制:在某些特定设备(尤其是 Apple 的 MacBook)上,particle 尺寸不能超过 64 pixels。由于我们马上就会把 particles 做小很多,所以这不是什么大问题,只要你能看到 particles 就可以继续。
让我们在调用 createFirework() 时用 0.5 代替 50 来减小尺寸:
createFirework(
    100,                 // Count
    new THREE.Vector3(), // Position
    0.5                  // Size
)
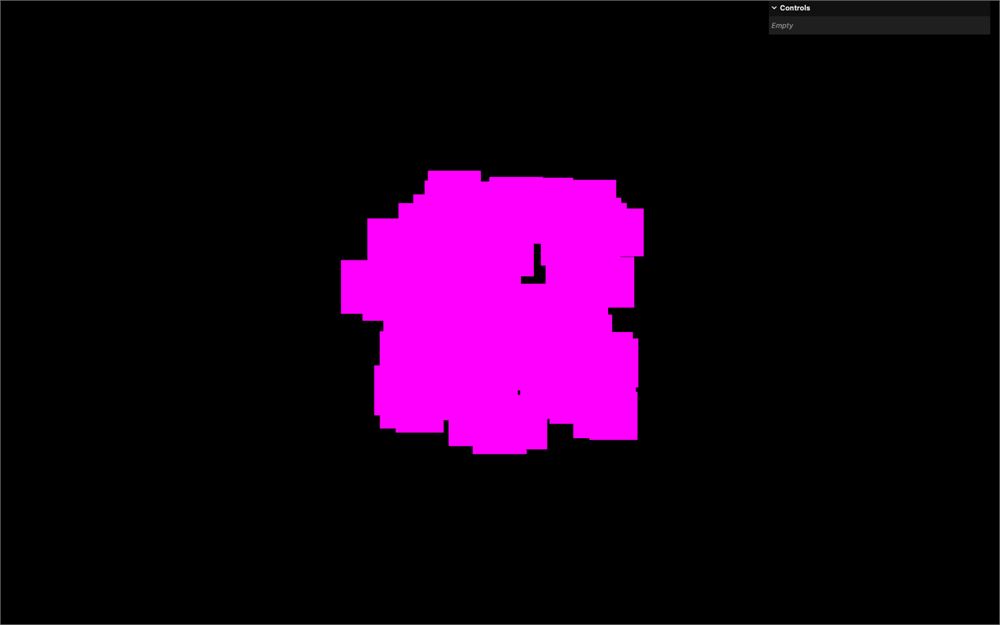
现在,particles 将保持与 render 高度成比例。
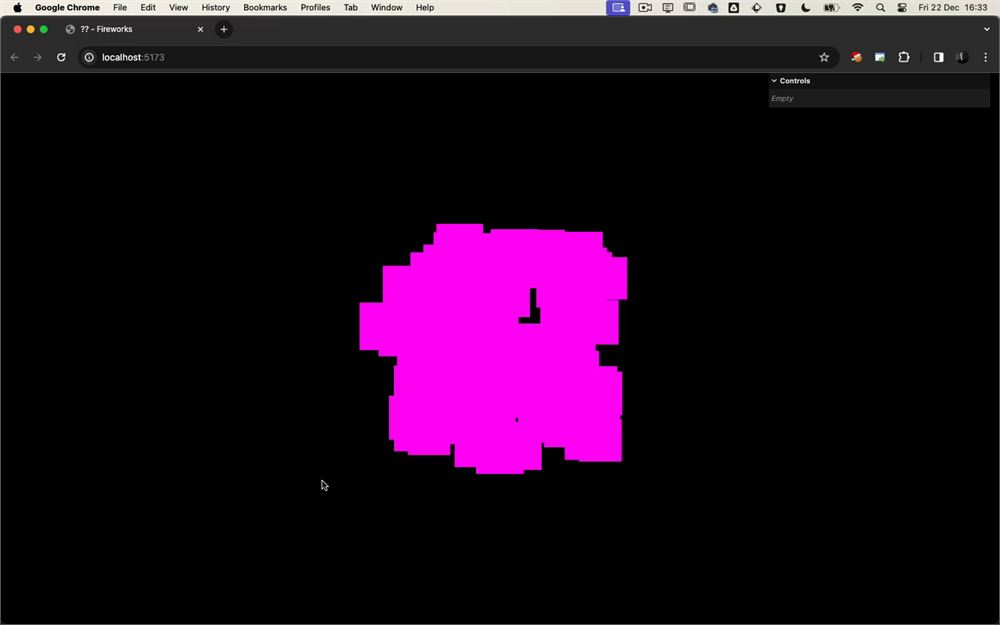
我们快完成了。现在我们需要处理 pixel ratio,而我们已经将这一信息以 Math.min(window.devicePixelRatio, 2) 的形式在代码中的两个地方发送给了 renderer。
让我们简化一下,把它保存为 sizes 的一个属性。
更新初始的 sizes,并用相同的公式添加 pixelRatio 属性:
const sizes = {
    width: window.innerWidth,
    height: window.innerHeight,
    pixelRatio: Math.min(window.devicePixelRatio, 2)
}
在 resize 回调函数中更新它:
window.addEventListener('resize', () =>
{
    // Update sizes
    sizes.width = window.innerWidth
    sizes.height = window.innerHeight
    sizes.pixelRatio = Math.min(window.devicePixelRatio, 2)
    sizes.resolution.set(sizes.width, sizes.height)
    // ...
})
将它发送给两处 renderer.setPixelRatio(),即在 resize 回调函数中和实例化 renderer 之后:
window.addEventListener('resize', () =>
{
    // ...
    renderer.setPixelRatio(sizes.pixelRatio)
})

// ...

const renderer = new THREE.WebGLRenderer({
    // ...
})
renderer.setSize(sizes.width, sizes.height)
renderer.setPixelRatio(sizes.pixelRatio)
这是一次大量的重构,但我们现在已经准备好以一种非常简单的方式来解决这个问题。
在实例化和更新 sizes.resolution 时,将 sizes.width 和 sizes.height 乘以 sizes.pixelRatio:
sizes.resolution = new THREE.Vector2(sizes.width * sizes.pixelRatio, sizes.height * sizes.pixelRatio)

window.addEventListener('resize', () =>
{
    // ...
    sizes.resolution.set(sizes.width * sizes.pixelRatio, sizes.height * sizes.pixelRatio)
    // ...
})
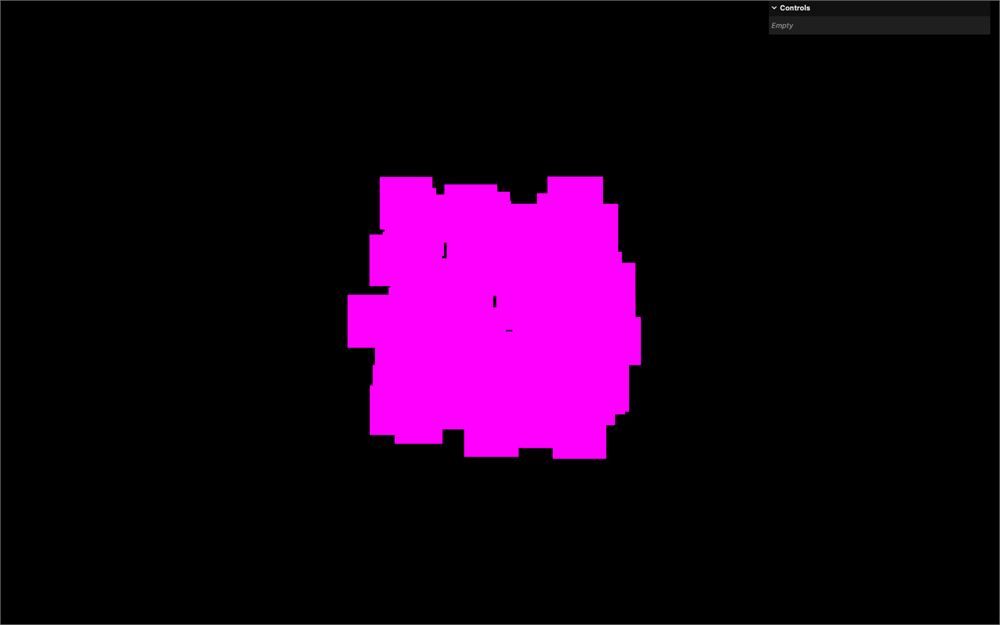
就这样。当 pixel ratio 假设为 2 时,uResolution 会变成两倍大,使得 particles 在 fragment 尺寸上变成两倍大,从而在屏幕上得到相同的尺寸。
Texture
既然 particle 尺寸已经正确了,让我们用 texture 让它看起来更好一些。
与之前的课程一样,我在 static/particles/ 文件夹中放了一些 texture。这是来自 Kenney 的、遵循 CC0 许可的精选 particle texture。
我们将会把它们全部加载,但只使用其中一个。之后,我们会随机选择一个。
在 createFirework 函数之前,创建一个 textures 数组并加载所有 particles 到其中:
const textures = [
    textureLoader.load('./particles/1.png'),
    textureLoader.load('./particles/2.png'),
    textureLoader.load('./particles/3.png'),
    textureLoader.load('./particles/4.png'),
    textureLoader.load('./particles/5.png'),
    textureLoader.load('./particles/6.png'),
    textureLoader.load('./particles/7.png'),
    textureLoader.load('./particles/8.png'),
]

const createFirework = (count, position, size) =>
{
    // ...
}
给 createFirework 函数添加一个 texture 参数,并在调用 createFirework 时从 textures 数组中发送一个元素:
const createFirework = (count, position, size, texture) =>
{
    // ...
}

createFirework(
    100,                 // Count
    new THREE.Vector3(), // Position
    0.5,                 // Size
    textures[7]          // Texture
)
使用一个 Uniform 实例将该 texture 作为 uTexture uniform 发送:
const createFirework = (count, position, size, texture) =>
{
    // ...

    // Material
    const material = new THREE.ShaderMaterial({
        // ...
        uniforms:
        {
            // ...
            uTexture: new THREE.Uniform(texture)
        }
    })

    // ...
}
在 fragment shader 中,将 uTexture uniform 作为 sampler2D 获取:
uniform sampler2D uTexture;

void main()
{
    // ...
}
如果你还记得上一课的内容,对于 particles,我们访问 texture 坐标的方式是不一样的,我们使用 gl_PointCoord,如果你好奇可以在 gl_FragColor 上测试它:
void main()
{
    // ...
    gl_FragColor = vec4(gl_PointCoord, 1.0, 1.0);
    // ...
}
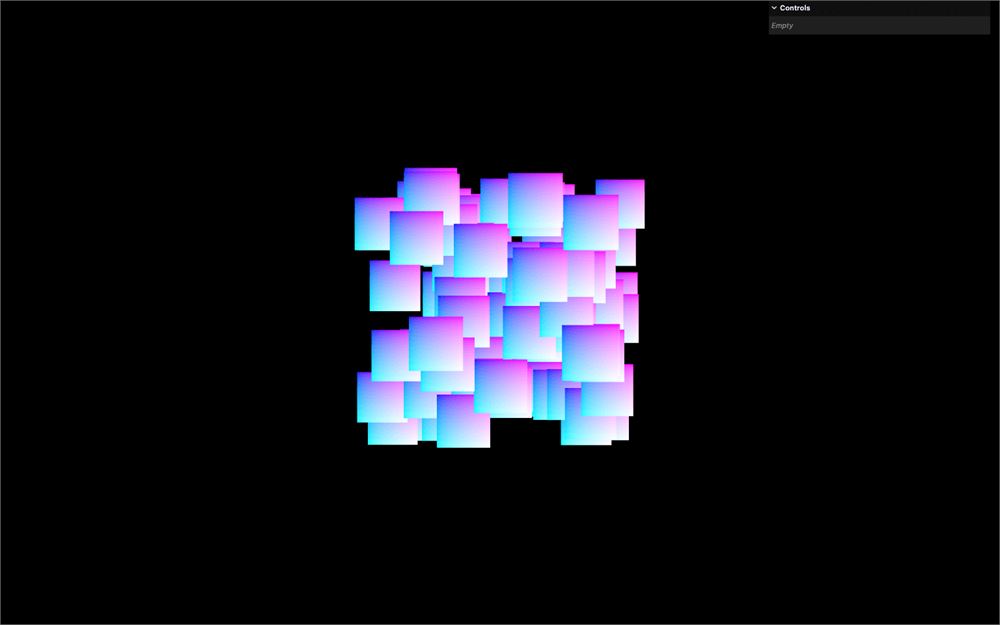
使用 texture() 结合 gl_PointCoord 从 uTexture 中提取出颜色作为 vec4 textureColor:
void main()
{
    vec4 textureColor = texture(uTexture, gl_PointCoord);

    // ...
}
并将其发送给 gl_FragColor:
uniform sampler2D uTexture;

void main()
{
    vec4 textureColor = texture(uTexture, gl_PointCoord);

    // Final color
    gl_FragColor = textureColor;
    // ...
}
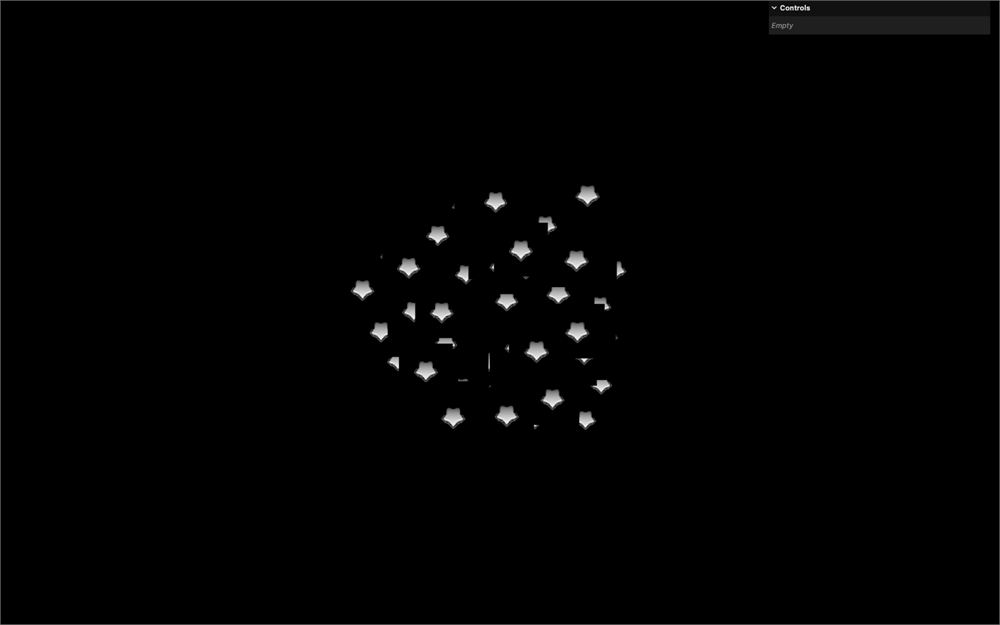
我们还有几件事要修复。
首先,如果你使用了和我相同的 particle texture,你可能会注意到它是上下颠倒的。
在 createFirework 中,就在我们将 texture 发送给 material 之前,将其 flipY 设为 false:
const createFirework = (count, position, size, texture) =>
{
    // ...

    // Material
    texture.flipY = false
    const material = new THREE.ShaderMaterial({
        // ...
    })

    // ...
}
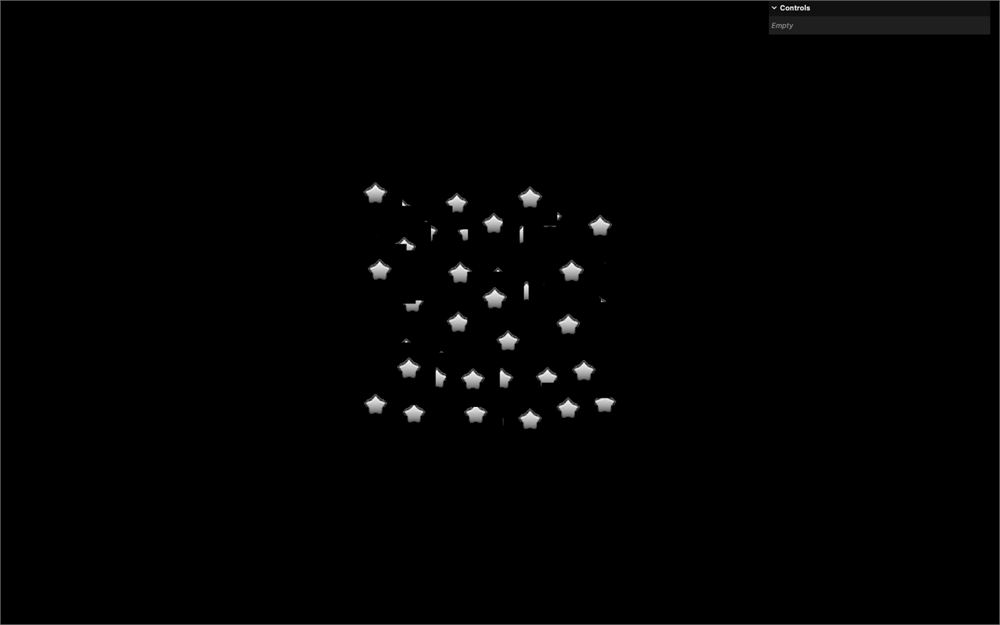
我们本可以用别的方式来做,但使用这个解决方案能确保发送给该函数的任何 texture 都会将其 flipY 设为 false。这样它就能正常工作了。
既然我们就在 material 附近,就把它的 transparent 属性设为 true,因为我们已经知道我们会使用透明度:
const createFirework = (count, position, size, texture) =>
{
    // ...
    const material = new THREE.ShaderMaterial({
        // ...
        transparent: true
    })

    // ...
}
回到 fragment.glsl,我们不需要 texture 的 4 个通道,因为它是灰度图像。相反,只获取 r 通道并将其保存为 float textureAlpha:
void main()
{
    float textureAlpha = texture(uTexture, gl_PointCoord).r;
    // ...
}
将它发送给 gl_FragColor 的 alpha 通道,其余保持为 1.0:
uniform sampler2D uTexture;

void main()
{
    float textureAlpha = texture(uTexture, gl_PointCoord).r;

    // Final color
    gl_FragColor = vec4(1.0, 1.0, 1.0, textureAlpha);
    // ...
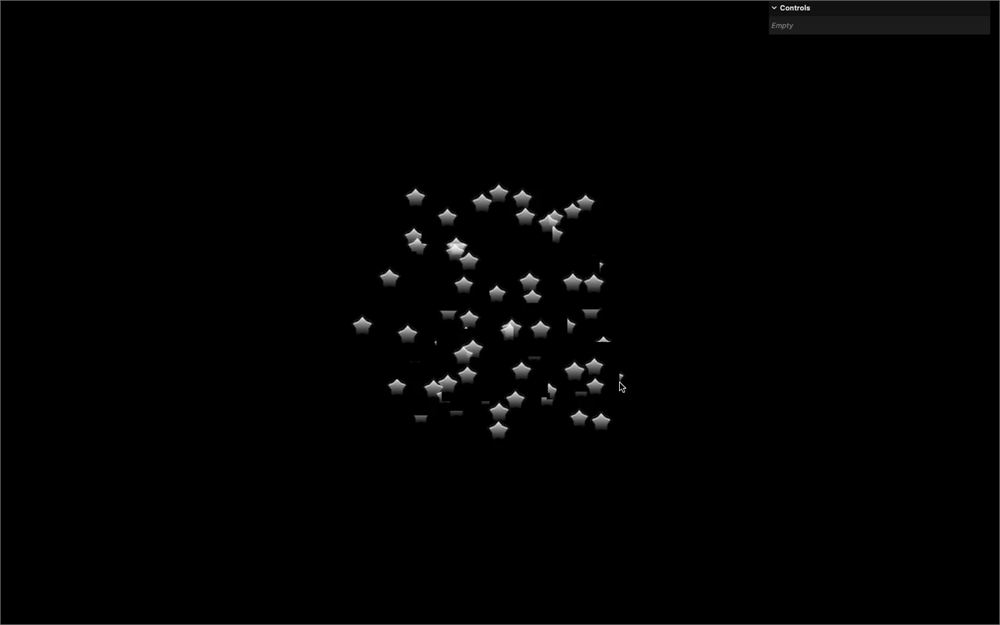
}
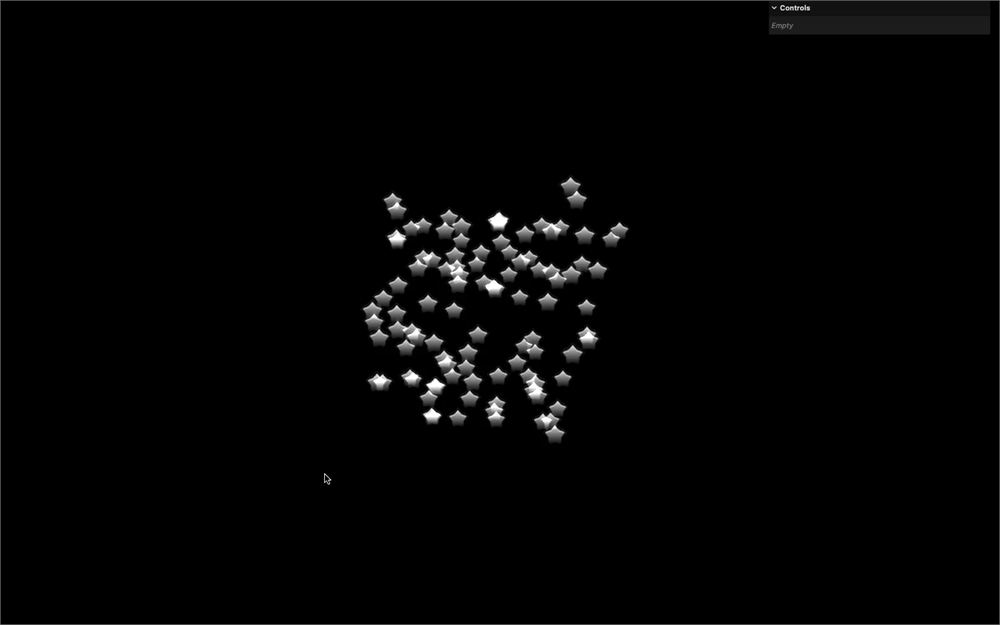
与带 texture 的 particles 一样,透明度会有些混乱,因为即使它们是透明的,它们仍会在 depth buffer 上遮挡后面的内容。
要解决这个问题,请在 material 上将 depthWrite 设为 false。然后,借此机会将 blending 设为 AdditiveBlending,让 particles 更有光的感觉:
const createFirework = (count, position, size, texture) =>
{
    // ...
    const material = new THREE.ShaderMaterial({
        // ...
        depthWrite: false,
        blending: THREE.AdditiveBlending
    })

    // ...
}
随机尺寸
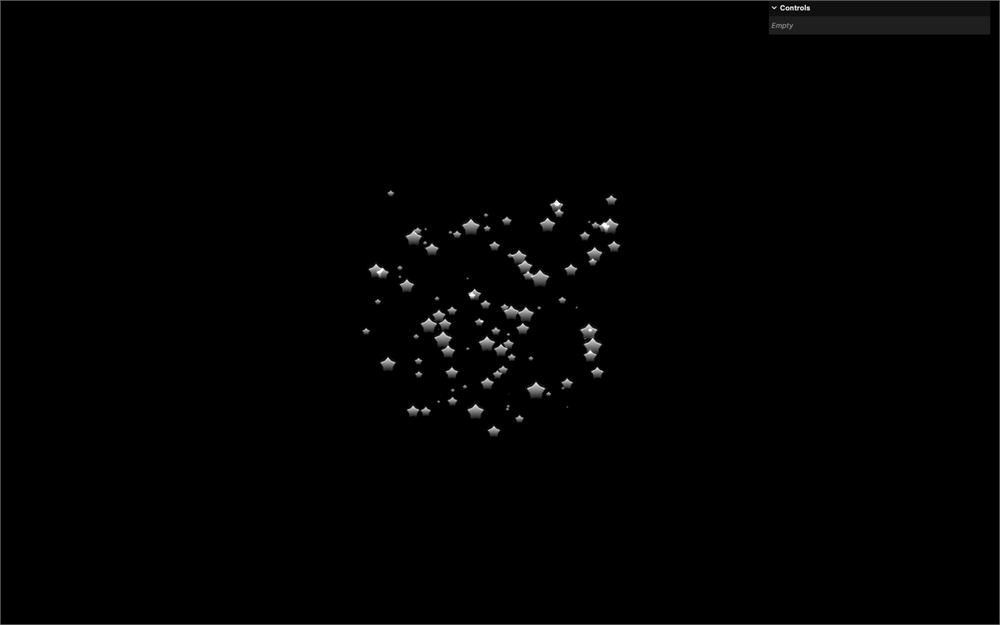
一如既往,完美的 particles 是不存在的,看起来会不真实。我们需要为它们的尺寸增加随机性。
在 geometry 部分,创建一个长度为 count 的 sizesArray 并用随机值填充它:
const createFirework = (count, position, size, texture) =>
{
    // ...
    const sizesArray = new Float32Array(count)

    for(let i = 0; i < count; i++)
    {
        // ...

        sizesArray[i] = Math.random()
    }

    // ...
}
确保使用 i 而不是 i3,因为我们想要每次递增 1、以 1 为步长。
现在将该数组作为一个 Float32BufferAttribute 发送给 'aSize' attribute,并确保将 item size 设为 1,因为每个 vertex 只有一个值:
const createFirework = (count, position, size, texture) =>
{
    // ...

    geometry.setAttribute('position', new THREE.Float32BufferAttribute(positionsArray, 3))
    geometry.setAttribute('aSize', new THREE.Float32BufferAttribute(sizesArray, 1))

    // ...
}
在 vertex.glsl 中,将 aSize attribute 作为 float 获取,并将 gl_PointSize 乘以它:
// ...

attribute float aSize;

void main()
{
    // ...

    // Final size
    gl_PointSize = uSize * uResolution.y * aSize;
    gl_PointSize *= 1.0 / - viewPosition.z;
}
球体分布
目前,particles 被放置在一个长方体体积上,这对烟花来说并不常见。
相反,我们想把它们定位在一个球体上,而 Three.js 有完美的类可以做到这一点,即 Spherical。
首先,我们想通过 createFirework 的参数来控制球体的半径。
添加一个 radius 参数,并在调用 createFirework() 时将其设为 1:
const createFirework = (count, position, size, texture, radius) =>
{
    // ...
}

createFirework(
    100,                 // Count
    new THREE.Vector3(), // Position
    0.5,                 // Size
    textures[7],         // Texture
    1                    // Radius
)
在 for 循环中,就在填充 positionsArray 之前,实例化一个 Spherical,并将值设为 radius、Math.random() * Math.PI 和 Math.random() * Math.PI * 2:
const createFirework = (count, position, size, texture, radius) =>
{
    // ...

    for(let i = 0; i < count; i++)
    {
        const i3 = i * 3

        const spherical = new THREE.Spherical(
            radius,
            Math.random() * Math.PI,
            Math.random() * Math.PI * 2
        )
        // ...
    }

    // ...
}
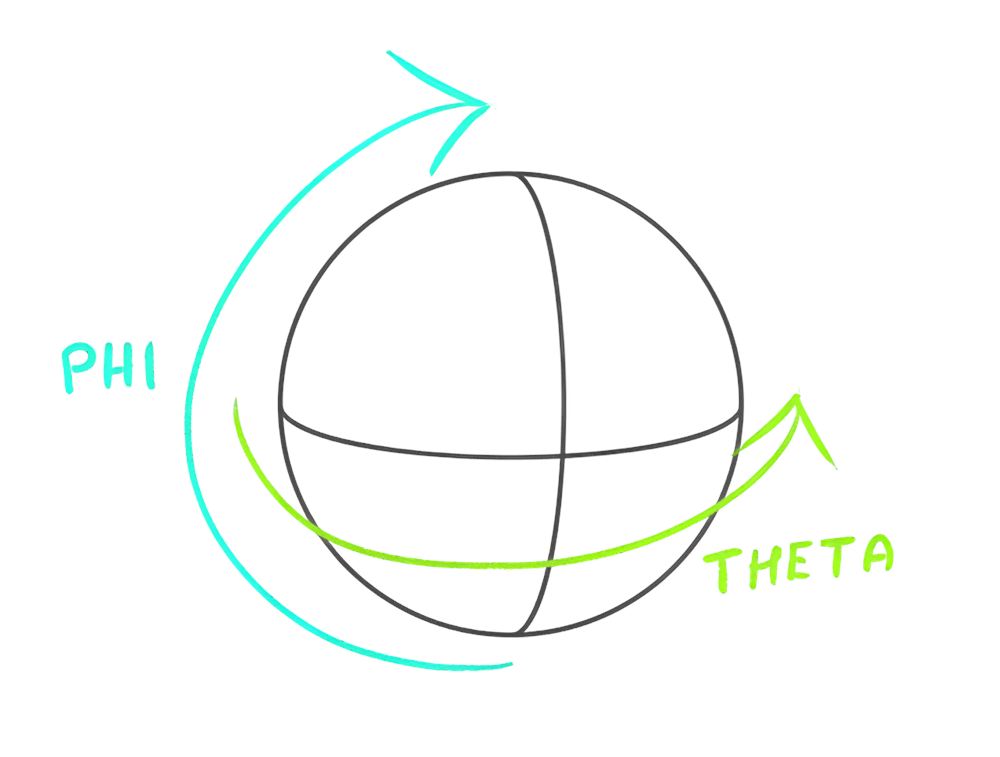
第二个参数是 “phi” 角,第三个参数是 “theta” 角。Phi 从 0 到 PI(半个圆),theta 从 0 到两倍的 PI(一个完整的圆):
我们现在想把球坐标转换为 3D 位置,可以通过从一个 Vector3 创建 position 并调用其 setFromSpherical() 方法来实现:
const createFirework = (count, position, size, texture, radius) =>
{
    // ...

    for(let i = 0; i < count; i++)
    {
        const i3 = i * 3

        const spherical = new THREE.Spherical(
            radius,
            Math.random() * Math.PI,
            Math.random() * Math.PI * 2
        )
        const position = new THREE.Vector3()
        position.setFromSpherical(spherical)

        // ...
    }

    // ...
}
最后,我们可以将 position 的属性赋值给 positionsArray:
const createFirework = (count, position, size, texture, radius) =>
{
    // ...

    for(let i = 0; i < count; i++)
    {
        // ...

        positionsArray[i3    ] = position.x
        positionsArray[i3 + 1] = position.y
        positionsArray[i3 + 2] = position.z

        // ...
    }

    // ...
}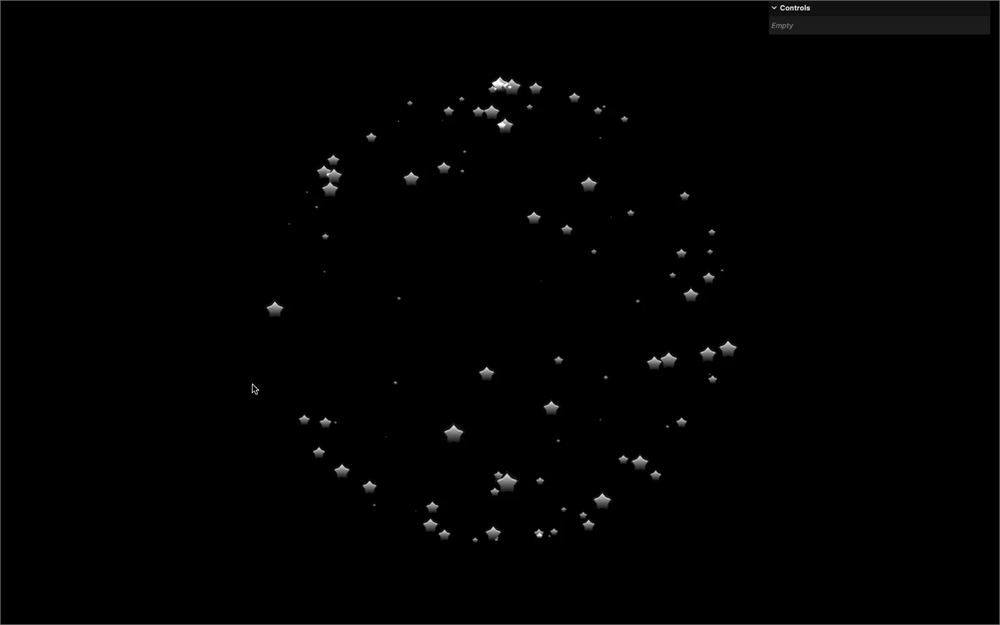
看起来像一个球体,但它太完美了。
要解决这个问题,我们将在实例化 Spherical 时对 radius 稍微随机化:
const createFirework = (count, position, size, texture, radius) =>
{
    // ...

    for(let i = 0; i < count; i++)
    {
        // ...

        const spherical = new THREE.Spherical(
            radius * (0.75 + Math.random() * 0.25),
            Math.random() * Math.PI,
            Math.random() * Math.PI * 2
        )

        // ...
    }

    // ...
}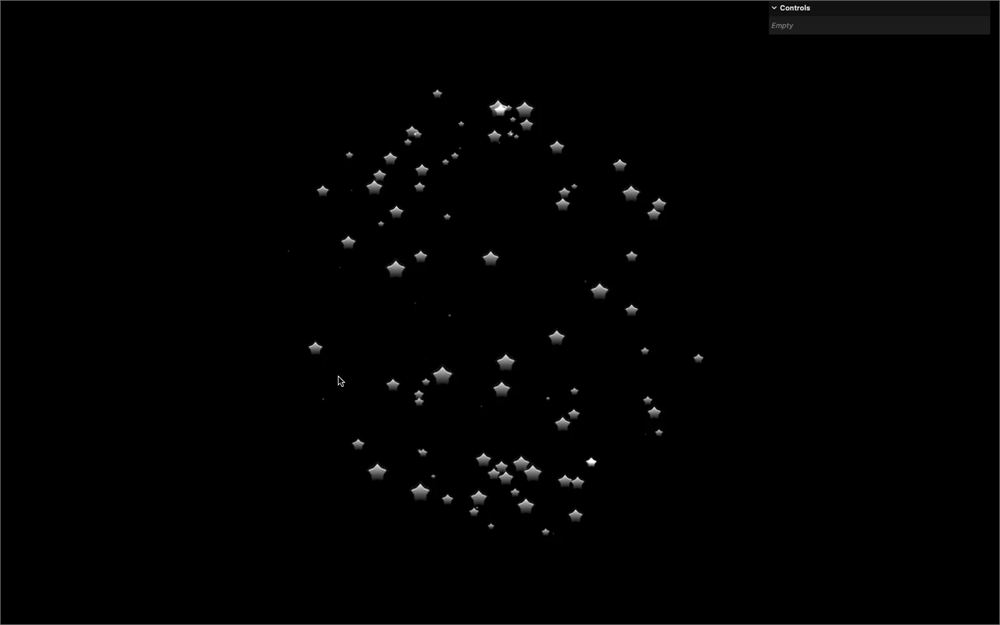
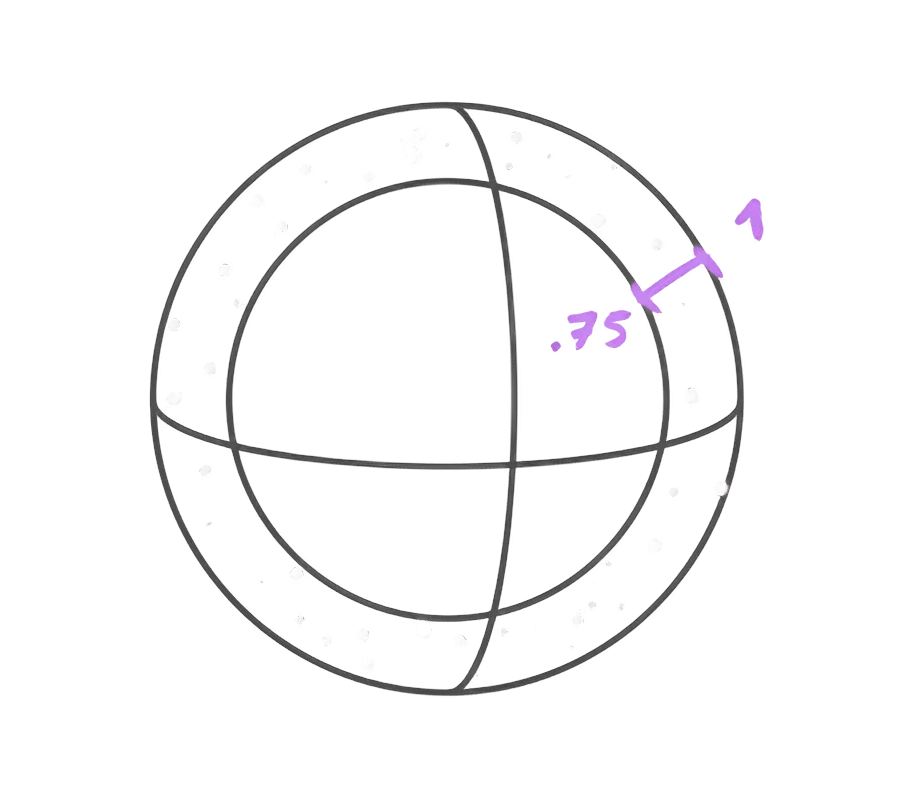
这个花哨的公式背后是一个简单的计算。我们将 radius 乘以一个在 0.75 到 1 之间变化的数。这样,particles 就不会超出设定的 radius,但可以离中心近至多 25%。
颜色
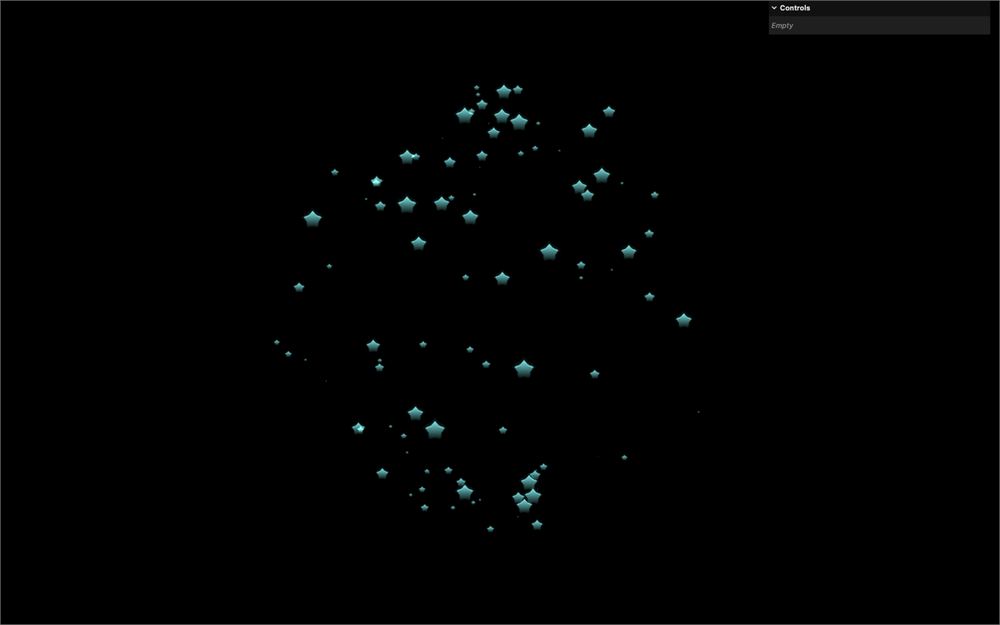
虽然最终颜色会是随机的,但所有 particles 的颜色都一样,我们想通过 createFirework 的参数来控制它。
给 createFirework 函数添加一个 color 参数,并在调用 createFirework() 时将其设为一个 Color 实例:
const createFirework = (count, position, size, texture, radius, color) =>
{
    // ...
}

createFirework(
    100,                       // Count
    new THREE.Vector3(),       // Position
    0.5,                       // Size
    textures[7],               // Texture
    1,                         // Radius
    new THREE.Color('#8affff') // Color
)
使用一个 Uniform 实例添加一个 uColor uniform,并将 color 参数发送给它:
const createFirework = (count, position, size, texture, radius, color) =>
{
    // ...

    const material = new THREE.ShaderMaterial({
        // ...
        uniforms:
        {
            // ...
            uColor: new THREE.Uniform(color)
        },
        // ...
    })

    // ...
}
在 fragment shader 中,将 uColor 作为 vec3 获取,并将其发送给 gl_FragColor 的前 3 个值:
// ...
uniform vec3 uColor;

void main()
{
    // ...
    gl_FragColor = vec4(uColor, textureAlpha);
    // ...
}
进度
我们终于进入了动画部分,但要控制这个动画,我们需要一个从 0 变化到 1 的值。然后,我们会在 vertex shader 中使用这个唯一的值来控制动画的所有方面。
使用一个 Uniform 实例创建一个 uProgress uniform,并将其设为 0:
const createFirework = (count, position, size, texture, radius, color) =>
{
    // ...

    const material = new THREE.ShaderMaterial({
        // ...
        uniforms:
        {
            // ...
            uProgress: new THREE.Uniform(0)
        }
    })

    // ...
}
为了将这个 uniform 从 0 动画到 1,我们将使用 GSAP,这有点小题大做,但我们已经熟悉 GSAP,而且它很方便。
从 'gsap' 导入 gsap,它已经在项目依赖中了:
import gsap from 'gsap'在 createFirework 函数的末尾,调用 gsap.to() 将 material.uniforms.uProgress.value 动画到 1:
const createFirework = (count, position, size, texture, radius, color) =>
{
    // ...

    // Animate
    gsap.to(
        material.uniforms.uProgress,
        { value: 1 },
    )
}虽然我们看不到它,因为它只是一个数字,但就目前而言,value 应该会正确地做动画。
默认情况下,GSAP 将持续时间设为 1,这有点太快了。使用 duration 属性将其改为 3:
const createFirework = (count, position, size, texture, radius, color) =>
{
    // ...

    // Animate
    gsap.to(
        material.uniforms.uProgress,
        { value: 1, duration: 3 },
    )
}
默认情况下,GSAP 使用非线性缓动,这样动画看起来不会太机械。我们只会把这个值当作参考,并在 vertex shader 中自行应用缓动,这就是为什么我们需要这个值是完美线性的。将 ease 属性设为'linear':
const createFirework = (count, position, size, texture, radius, color) =>
{
    // ...

    // Animate
    gsap.to(
        material.uniforms.uProgress,
        { value: 1, duration: 3, ease: 'linear' },
    )
}
Dispose
现在正是释放烟花的绝佳时机。
当动画结束时,烟花的 particles 不应该可见,我们可以恰当地将其销毁。
我们可以通过添加一个 onComplete 属性并向其发送一个回调函数,来获知 GSAP 动画结束。
在 gsap.to() 之前,创建一个 destroy 函数,在里面放一个 console.log('destroy'),并将其发送给 gsap.to() 的 onComplete 属性:
const createFirework = (count, position, size, texture, radius, color) =>
{
    // ...

    // Destroy
    const destroy = () =>
    {
        console.log('destroy')
    }

    // Animate
    gsap.to(
        material.uniforms.uProgress,
        { value: 1, duration: 3, ease: 'linear', onComplete: destroy },
    )
}
3 秒后,你应该会在 Console 中看到 'destroy'。
现在的问题是,我们应该释放什么?
Three.js 文档包含大量关于此的信息 https://threejs.org/docs/#manual/en/introduction/How-to-dispose-of-objects
在我们的例子中,我们需要释放 geometry 和 material,但还需要从 scene 中移除 Points 实例:
const createFirework = (count, position, size, texture, radius, color) =>
{
    // ...

    // Destroy
    const destroy = () =>
    {
        scene.remove(firework)
        geometry.dispose()
        material.dispose()
    }

    // ...
}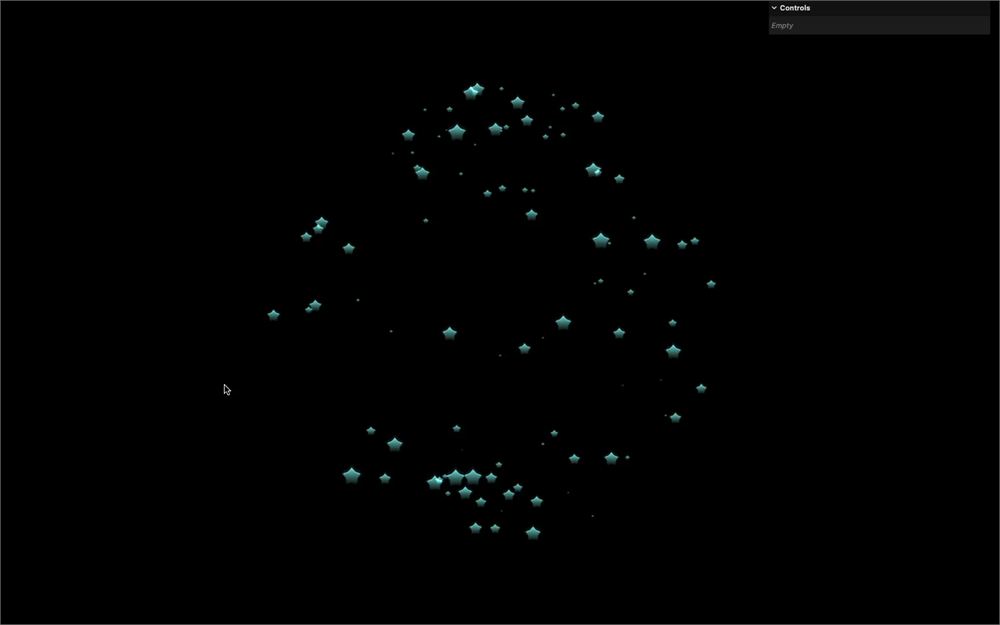
3 秒后,烟花消失了。
还要注意,我们不会释放 texture,因为当用户点击创建烟花时,我们可能会将它用于其他烟花。
点击时生成
现在调试会更困难,因为我们需要重新加载页面才能看到新的烟花。让我们为每次点击创建一个。
目前,我们将创建完全相同的烟花,但之后,我们会将其随机化。
在调用 createFirework() 之后,在 window 上监听 'click' 事件,并用相同的参数调用完全相同的函数:
createFirework(
    100,                       // Count
    new THREE.Vector3(),       // Position
    0.5,                       // Size
    textures[7],               // Texture
    1,                         // Radius
    new THREE.Color('#8affff') // Color
)

window.addEventListener('click', () =>
{
    createFirework(
        100,                       // Count
        new THREE.Vector3(),       // Position
        0.5,                       // Size
        textures[7],               // Texture
        1,                         // Radius
        new THREE.Color('#8affff') // Color
    )
})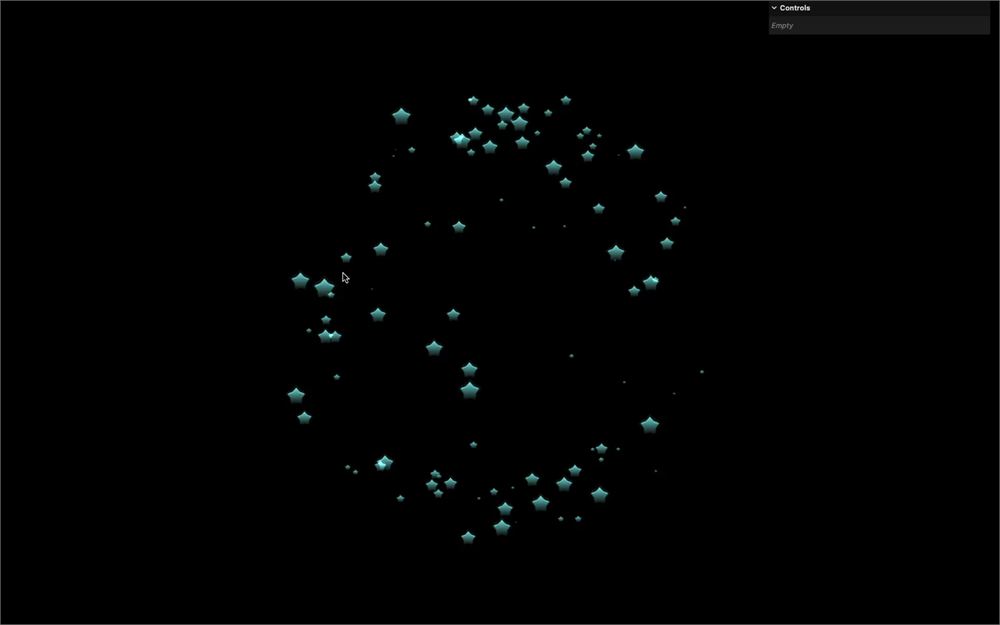
点击将生成一个新的实例,它们总是在 3 秒后消失,而且我们知道它们被恰当地释放了。
动画
所有的这些准备工作把我们带到了这一刻。是时候让 particles 动起来了。
正如开头提到的,动画由 5 个不同的阶段组成:
- particles 开始向各个方向快速扩散
- 它们以更快的速度放大
- 它们开始缓慢下落
- 它们缩小
- 它们在消失时闪烁
而这些阶段相互重叠,否则就太简单了(而且不好看)。
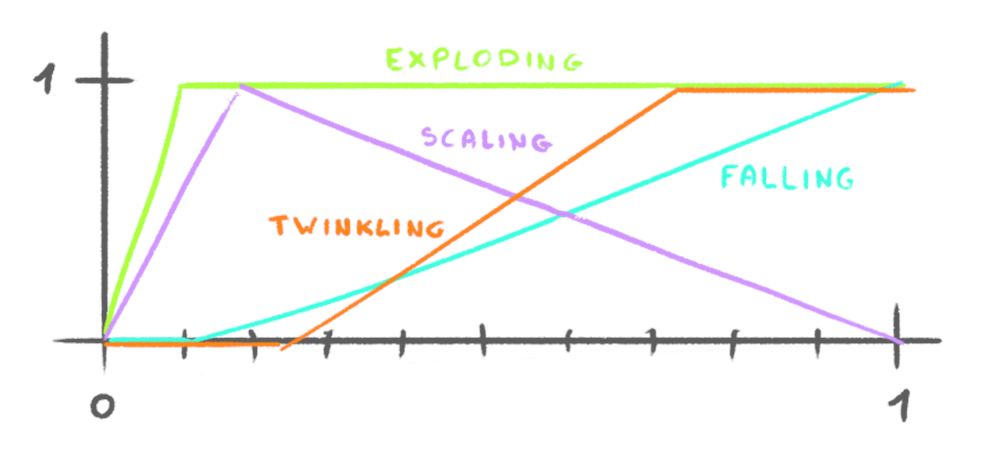
用单个进度值创建如此复杂动画的技巧在于,将它们恰当地分离,并对进度进行重映射以适配我们正在处理的阶段。
让我们从第一个阶段开始,让 particles 爆炸。
爆炸
首先,在 vertex shader 中,我们需要将 uProgress 作为 float 获取:
uniform float uProgress;我们想改变 position 变量,但由于它是一个 attribute,我们无法更新它。
从 position 创建一个 newPosition,并将其发送给 modelPosition:
void main()
{
    vec3 newPosition = position;

    // Final position
    vec4 modelPosition = modelMatrix * vec4(newPosition, 1.0);
    // ...
}
我们现在想对 uProgress 进行重映射,使其在动画开始时从 0 到 1。
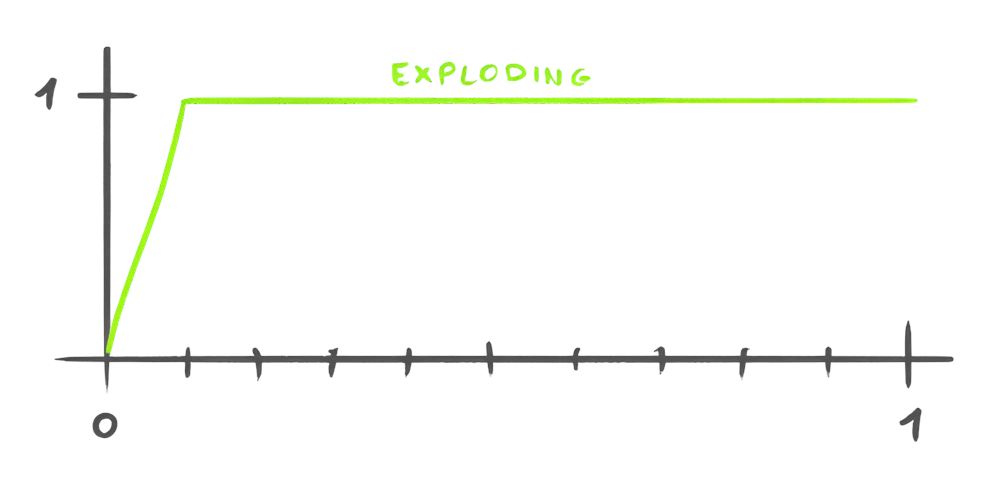
到目前为止,我们一直在使用 smoothstep,这是一个不错的解决方案,但在我们的例子中,我们只想要重映射部分,而不想要平滑部分:
遗憾的是,GLSL 中没有为此内置的函数,但我们可以使用下面这个函数,将它添加到 main() 之前:
float remap(float value, float originMin, float originMax, float destinationMin, float destinationMax)
{
    return destinationMin + (value - originMin) * (destinationMax - destinationMin) / (originMax - originMin);
}

void main()
{
    // ...
}
不深入细节的话,你需要传入:
value:你想重映射的值originMin和originMax:原始范围的起点和终点(你想转换到另一个范围的那部分)destinationMin和destinationMax:目标范围的起点和终点(在我们的例子中就是0和1,但我们本可以有不同的目标范围)
我们希望爆炸发生在 0 到 0.1 之间。创建一个 explodingProgress 变量并按这种方式重映射它:
void main()
{
    // ...

    // Exploding
    float explodingProgress = remap(uProgress, 0.0, 0.1, 0.0, 1.0);

    // ...
}
我们现在要根据这个 explodingProgress 将 vertices 从中心移动到它们的正常位置,可以通过将 newPosition 乘以 explodingProgress 来实现:
void main()
{
    // ...

    // Exploding
    float explodingProgress = remap(uProgress, 0.0, 0.1, 0.0, 1.0);
    newPosition *= explodingProgress;

    // ...
}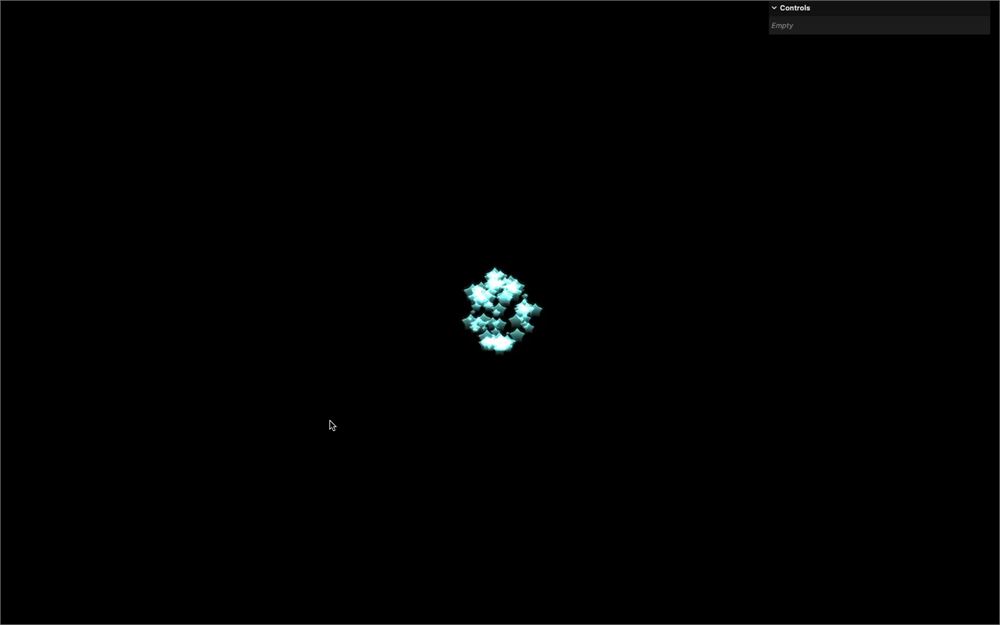
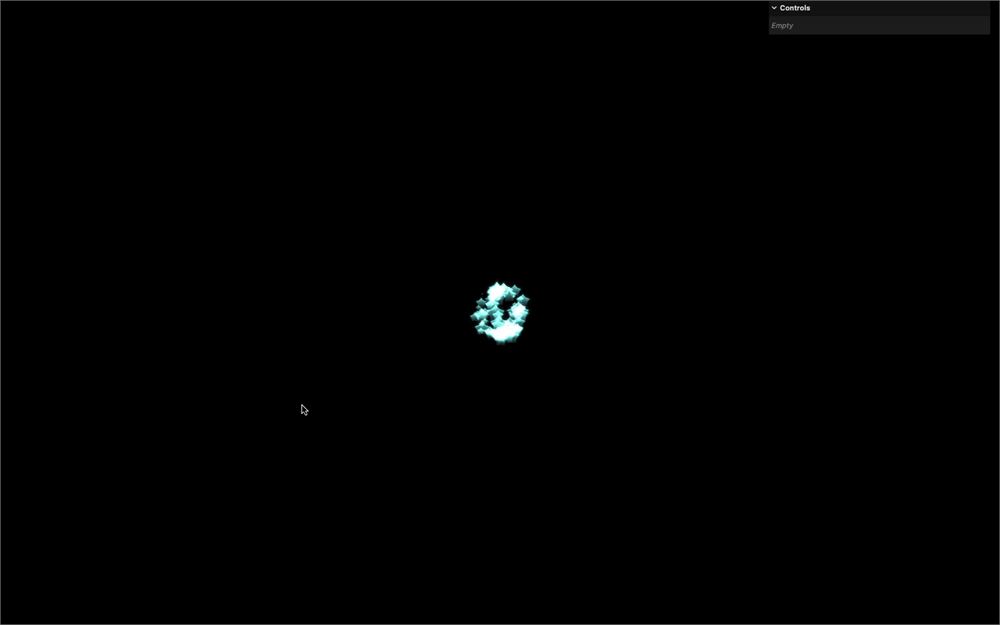
不错,但 particles 难道不应该在 0.1 处停下吗?
是的,应该如此,但我们的 remap 函数并不会阻止值超出或低于我们提供的界限。
要解决这个问题,我们可以在 remap 之后立即使用 clamp 来钳制该值:
void main()
{
    // ...

    // Exploding
    float explodingProgress = remap(uProgress, 0.0, 0.1, 0.0, 1.0);
    explodingProgress = clamp(explodingProgress, 0.0, 1.0);
    newPosition *= explodingProgress;

    // ...
}
现在,我们希望动画在开始时很快,并在到达过渡终点之前慢下来。
在之前的课程中,我们已经看到可以使用 pow 来获得这种效果:
void main()
{
    // ...

    // Exploding
    float explodingProgress = remap(uProgress, 0.0, 0.1, 0.0, 1.0);
    explodingProgress = clamp(explodingProgress, 0.0, 1.0);
    explodingProgress = pow(explodingProgress, 3.0);
    newPosition *= explodingProgress;

    // ...
}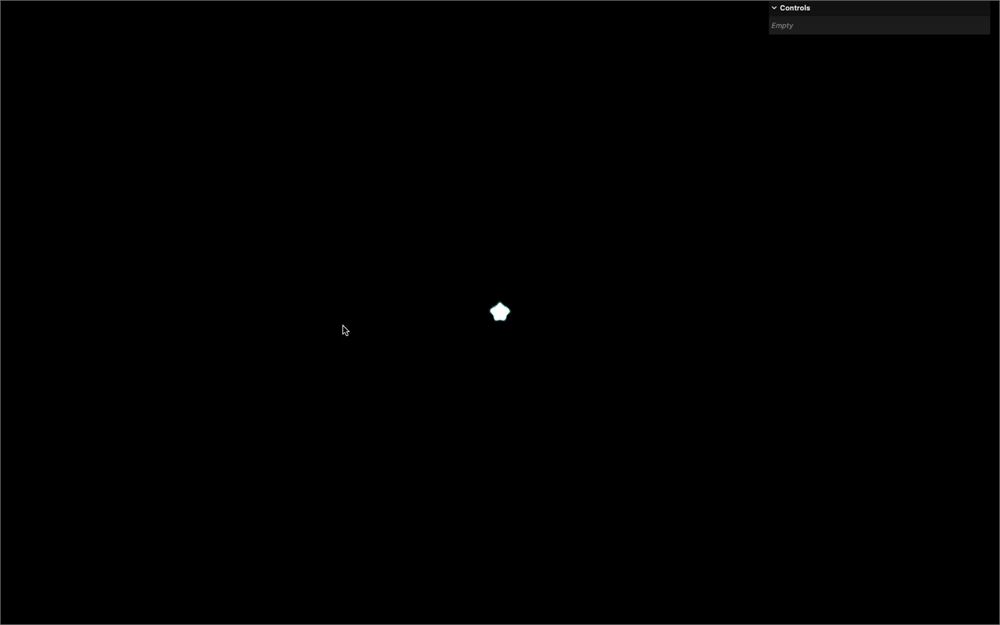
这样做得到了与我们想要相反的效果。它开始得慢,在最后加速,如果你看看 3 次幂的曲线,这是合理的:
要解决这个问题,我们将反转该值,使其从 1 到 0 而不是从 0 到 1,应用幂,然后再反转回来:
void main()
{
    // ...

    // Exploding
    float explodingProgress = remap(uProgress, 0.0, 0.1, 0.0, 1.0);
    explodingProgress = clamp(explodingProgress, 0.0, 1.0);
    explodingProgress = 1.0 - pow(1.0 - explodingProgress, 3.0);
    newPosition = mix(vec3(0.0), newPosition, explodingProgress);

    // ...
}
再次注意,这之所以有效,仅仅是因为我们的值范围从 0 到 1。
下落
紧接着那次爆炸之后,我们希望 particles 下落:
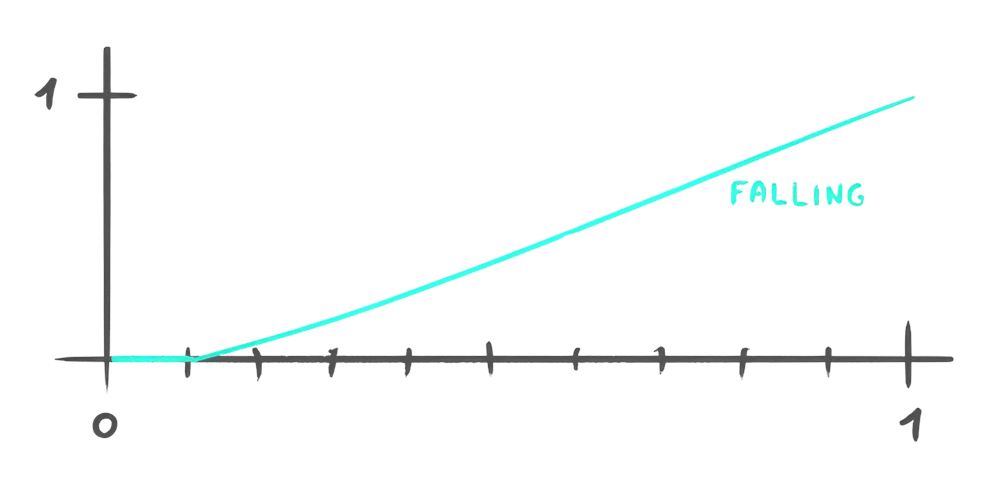
创建一个 fallingProgress,并应用完全相同的技术,只是 remap() 的参数不同:
void main()
{
    // ...

    // Falling
    float fallingProgress = remap(uProgress, 0.1, 1.0, 0.0, 1.0);
    fallingProgress = clamp(fallingProgress, 0.0, 1.0);
    fallingProgress = 1.0 - pow(1.0 - fallingProgress, 3.0);

    // ...
}
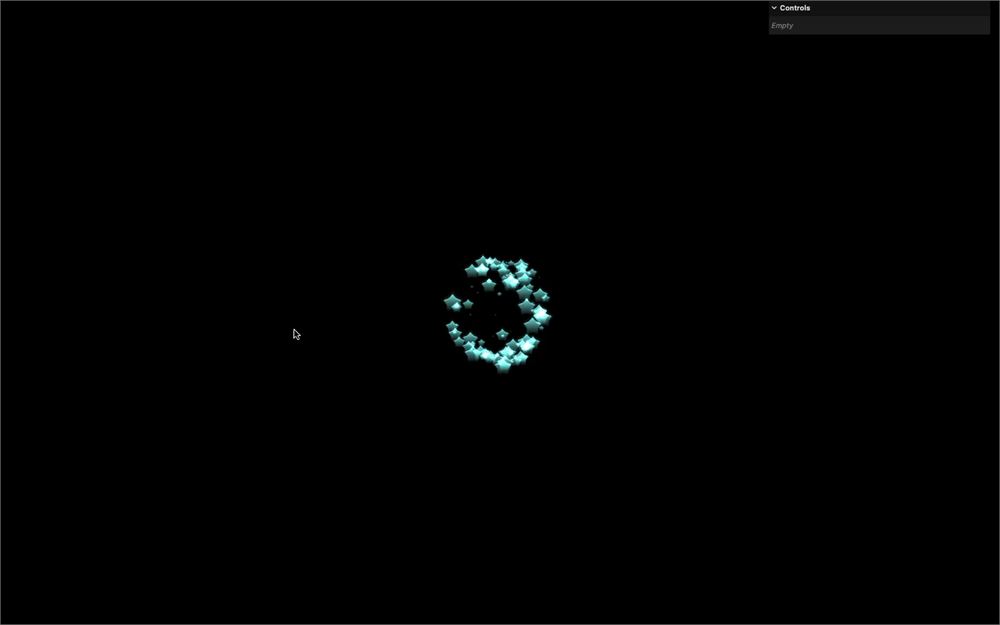
我们可以用 fallingProgress 从 newPosition.y 中减去,并乘以 0.2:
void main()
{
    // ...

    // Falling
    float fallingProgress = remap(uProgress, 0.1, 1.0, 0.0, 1.0);
    fallingProgress = clamp(fallingProgress, 0.0, 1.0);
    fallingProgress = 1.0 - pow(1.0 - fallingProgress, 3.0);
    newPosition.y -= fallingProgress * 0.2;

    // ...
}
缩放
缩放部分稍微棘手一些,因为 particle 在开始时快速放大,然后在末尾缓慢缩小。
我们将分别计算放大和缩小,取两者中较小的一个,并对其进行钳制。
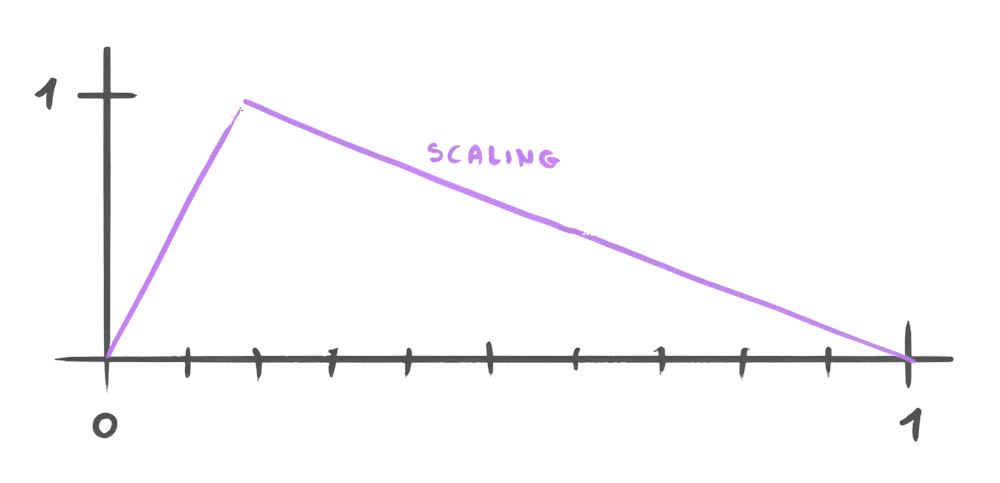
使用通常的 remap() 计算 sizeOpeningProgress:
void main()
{
    // ...

    // Scaling
    float sizeOpeningProgress = remap(uProgress, 0.0, 0.125, 0.0, 1.0);

    // ...
}
使用 remap() 计算 sizeClosingProgress,但反转最后两个值,使其从 1 到 0 而不是从 0 到 1:
void main()
{
    // ...

    // Scaling
    float sizeOpeningProgress = remap(uProgress, 0.0, 0.125, 0.0, 1.0);
    float sizeClosingProgress = remap(uProgress, 0.125, 1.0, 1.0, 0.0);

    // ...
}
使用 min 取得两者中的最小值,并将其保存为 sizeProgress:
void main()
{
    // ...

    // Scaling
    float sizeOpeningProgress = remap(uProgress, 0.0, 0.125, 0.0, 1.0);
    float sizeClosingProgress = remap(uProgress, 0.125, 1.0, 1.0, 0.0);
    float sizeProgress = min(sizeOpeningProgress, sizeClosingProgress);

    // ...
}
使用 clamp 将 sizeProgress 钳制在 0 到 1 之间:
void main()
{
    // ...

    // Scaling
    float sizeOpeningProgress = remap(uProgress, 0.0, 0.125, 0.0, 1.0);
    float sizeClosingProgress = remap(uProgress, 0.125, 1.0, 1.0, 0.0);
    float sizeProgress = min(sizeOpeningProgress, sizeClosingProgress);
    sizeProgress = clamp(sizeProgress, 0.0, 1.0);

    // ...
}
将 sizeProgress 与其余部分相乘,用在 gl_PointSize 上:
void main()
{
    // ...

    gl_PointSize = uSize * uResolution.y * aSize * sizeProgress;
    // ...
}
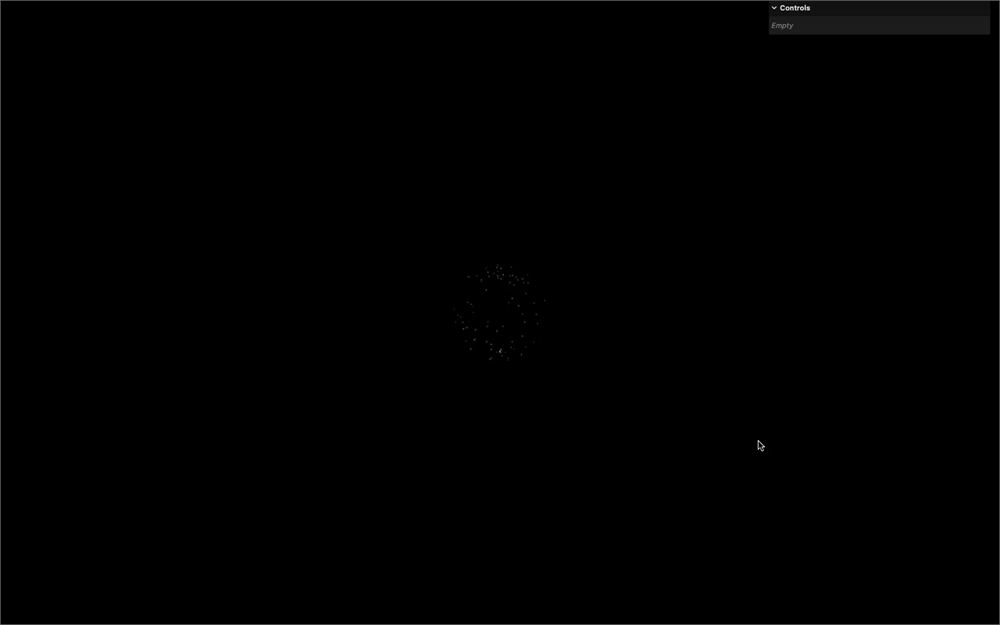
闪烁
对于最后一部分,我们希望 particles 闪烁,也就是说它们会相当快速地放大和缩小,仿佛燃烧它们的火焰正在失控地消退。
我们希望在 particles 开始缩小之后不久开始闪烁,但效果要足够快地积累起来,这样我们才能在 particle 消失之前欣赏到它:
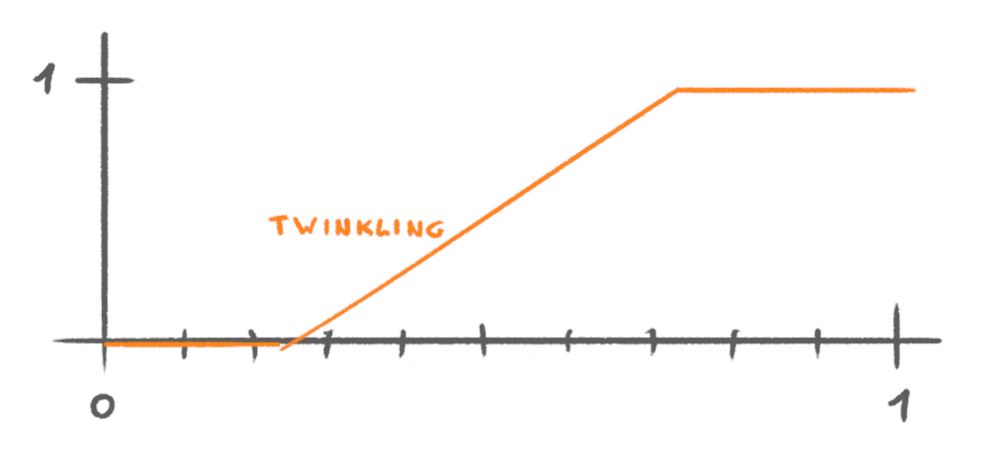
首先,像之前的部分一样计算 twinklingProgress,使用一个从 0.2 到 0.8 的 remap 和一个 clamp:
void main()
{
    // ...

    // Twinkling
    float twinklingProgress = remap(uProgress, 0.2, 0.8, 0.0, 1.0);
    twinklingProgress = clamp(twinklingProgress, 0.0, 1.0);

    // Final position
    // ...
}
让我们先把 twinklingProgress 放在一边,试着让 particles 一直闪烁。
由于缩放需要反复放大和缩小,我们可以在 uProgress 上使用经典的 sin。
创建一个 float sizeTwinkling 变量,并为它赋值 uProgress 的 sin():
void main()
{
    // ...

    // Twinkling
    float twinklingProgress = remap(uProgress, 0.2, 0.8, 0.0, 1.0);
    twinklingProgress = clamp(twinklingProgress, 0.0, 1.0);
    float sizeTwinkling = sin(uProgress);

    // Final position
    // ...
}
在继续之前,我们知道 sine 从 -1 到 +1,而我们想要一个从 0 到 1 的值。将 sizeTwinkling 乘以 0.5 并加上 0.5:
void main()
{
    // ...
    float sizeTwinkling = sin(uProgress) * 0.5 + 0.5;

    // ...
}
我们还知道 uProgress 从 0 到 1,这不会在 sin() 中产生很多波。将 uProgress 乘以 30.0:
void main()
{
    // ...
    float sizeTwinkling = sin(uProgress * 30.0) * 0.5 + 0.5;

    // ...
}
我们现在可以将 sizeTwinkling 发送给 gl_PointSize:
void main()
{
    // ...
    gl_PointSize = uSize * uResolution.y * aSize * sizeProgress * sizeTwinkling;
    // ...
}
最后,我们需要将 twinklingProgress 与 sizeTwinkling 结合起来:
void main()
{
    // ...
    float sizeTwinkling = sin(uProgress * 30.0) * 0.5 + 0.5;
    sizeTwinkling = sizeTwinkling * twinklingProgress;

    // ...
}
这样做是错误的,因为当 twinklingProgress 为 0 时,sizeTwinkling 最终也会是 0,导致 particles 除非在闪烁否则不可见。
要解决这个问题,我们可以从 1.0 开始,然后减去我们计算的值,从而反转该值:
void main()
{
    // ...
    float sizeTwinkling = sin(uProgress * 30.0) * 0.5 + 0.5;
    sizeTwinkling = 1.0 - sizeTwinkling * twinklingProgress;

    // ...
}
随机化时间
这一切看起来很棒,但同样,太规律了。所有 particles 都在完全相同的时间遵循相似的动画,这在闪烁方面尤其令人不适。
它们应该同时开始,但它们的生命周期应该不同。不过,由于我们在动画结束时释放烟花,所以没有哪个 particle 应该耗时更长。此外,我们需要它们在释放之前就消失。
我们将创建一个作为 attribute 的时间乘数,让 particles 随机地更快一些。
在 geometry 部分,创建一个长度为 count 的 timeMultipliersArray,并用从 1 到 2 随机变化的值填充它:
const createFirework = (count, position, size, texture, radius, color) =>
{
    // ...
    const timeMultipliersArray = new Float32Array(count)

    for(let i = 0; i < count; i++)
    {
        // ...

        timeMultipliersArray[i] = 1 + Math.random()
    }

    // ...
}
确保使用 i 而不是 i3,因为我们想要每次递增 1、以 1 为步长。
现在使用 Float32BufferAttribute 创建 'aTimeMultiplier' attribute,并确保将 item size 设为 1,因为每个 vertex 只有一个值:
const createFirework = (count, position, size, texture, radius, color) =>
{
    // ...

    geometry.setAttribute('position', new THREE.Float32BufferAttribute(positionsArray, 3))
    geometry.setAttribute('aSize', new THREE.Float32BufferAttribute(sizesArray, 1))
    geometry.setAttribute('aTimeMultiplier', new THREE.Float32BufferAttribute(timeMultipliersArray, 1))

    // ...
}
在 vertex shader 中,将 aTimeMultiplier attribute 作为 float 获取:
// ...

attribute float aSize;
attribute float aTimeMultiplier;

void main()
{
    // ...
}
在 main() 的开头,创建一个 float progress 并将 uProgress 乘以 aTimeMultiplier 赋值给它,然后将其用于各个进度计算,取代 uProgress:
void main()
{
    float progress = uProgress * aTimeMultiplier;

    // ...

    float explodingProgress = remap(progress, 0.0, 0.1, 0.0, 1.0);

    // ...

    float fallingProgress = remap(progress, 0.1, 1.0, 0.0, 1.0);

    // ...

    float sizeOpeningProgress = remap(progress, 0.0, 0.125, 0.0, 1.0);
    float sizeClosingProgress = remap(progress, 0.125, 1.0, 1.0, 0.0);

    // ...

    float twinklingProgress = remap(progress, 0.2, 0.8, 0.0, 1.0);
    // ...
    float sizeTwinkling = sin(progress * 40.0) * 0.5 + 0.5;
}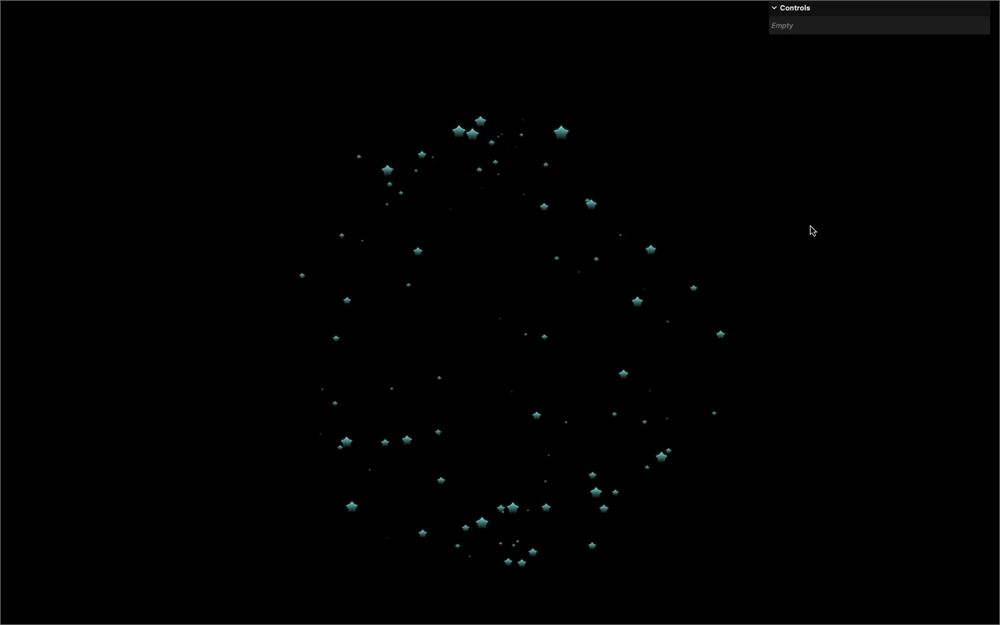
现在 particles 以不同的速度推进,闪烁看起来更随机了。
Windows 问题
有些人可能已经注意到,即使 particles 极其微小,它们在完全从 scene 中移除之前仍然可见。这种行为因你的 OS 和 GPU 而异,但大多数情况下,它影响 Windows 用户,我们无论如何都需要修复它。
发生的事情是,对于这些用户,gl_PointSize 被钳制到最小值 1.0。任何低于 1.0 的值最终都会变成 1.0,从而阻止 particles 消失。
我们要做的是,当 gl_PointSize 低于 1.0 时完全隐藏 particle。
遗憾的是,没有 GLSL 指令可以做到这一点。相反,我们将使用一个笨拙的技巧,即将 particles 移动到远离渲染裁剪空间的位置。
在 vertex.glsl 中,使用一个 if 语句来测试 gl_PointSize 是否低于 1.0,如果是,则将 gl_Position 设为 vec4(9999.9):
void main()
{
    // ...

    // Final size
    // ...

    if(gl_PointSize < 1.0)
        gl_Position = vec4(9999.9);
}
随机性
我们的动画就完成了。
是时候给这些烟花增加一些随机性了。
在 createFirework 函数之后创建一个 createRandomFirework 函数:
const createFirework = (count, position, size, texture, radius, color) =>
{
    // ...
}

const createRandomFirework = () =>
{

}
在其中,创建一个随机的 count:
const createRandomFirework = () =>
{
    const count = Math.round(400 + Math.random() * 1000)
}
创建一个随机的 position:
const createRandomFirework = () =>
{
    // ...
    const position = new THREE.Vector3(
        (Math.random() - 0.5) * 2,
        Math.random(),
        (Math.random() - 0.5) * 2
    )
}
创建一个随机的 size:
const createRandomFirework = () =>
{
    // ...
    const size = 0.1 + Math.random() * 0.1
}
在 textures 中随机选择一个 texture:
const createRandomFirework = () =>
{
    // ...
    const texture = textures[Math.floor(Math.random() * textures.length)]
}
创建一个随机的 radius:
const createRandomFirework = () =>
{
    // ...
    const radius = 0.5 + Math.random()
}
使用 Color 类及其 setHSL() 方法创建一个随机的 color:
const createRandomFirework = () =>
{
    // ...
    const color = new THREE.Color()
    color.setHSL(Math.random(), 1, 0.7)
}
使用所有这些随机变量调用 createFirework():
const createRandomFirework = () =>
{
    // ...
    createFirework(count, position, size, texture, radius, color)
}
将最初的 createFirework() 调用替换为 createRandomFirework(),并将其作为 'click' 监听器的回调函数发送:
const createRandomFirework = () =>
{
    // ...
}

createRandomFirework()

document.addEventListener('click', createRandomFirework)
开火!
天空背景
我们的烟花完成了,但让我们再多玩一会儿,添加一个漂亮的天空背景。
为此,我们将使用 Sky 类。
这是一个基于物理的类,会产生逼真的天空,你可以模拟日落、黎明、明亮的白天等。
遗憾的是,关于这个类的文档不多,但其 示例 是不言自明的,而且很容易实现。
打开这个 示例,然后点击页面右下角的 <> 图标打开代码。
就在你代码的 Animate 部分之前,添加一个 Sky 部分:
/**
 * Sky
 */
虽然按原样它还不能工作,但请将从示例中 initSky 函数内部的所有内容复制到你的代码中:
sky = new Sky();
sky.scale.setScalar( 450000 );
scene.add( sky );

sun = new THREE.Vector3();

/// GUI

const effectController = {
    turbidity: 10,
    rayleigh: 3,
    mieCoefficient: 0.005,
    mieDirectionalG: 0.7,
    elevation: 2,
    azimuth: 180,
    exposure: renderer.toneMappingExposure
};

function guiChanged() {

    const uniforms = sky.material.uniforms;
    uniforms[ 'turbidity' ].value = effectController.turbidity;
    uniforms[ 'rayleigh' ].value = effectController.rayleigh;
    uniforms[ 'mieCoefficient' ].value = effectController.mieCoefficient;
    uniforms[ 'mieDirectionalG' ].value = effectController.mieDirectionalG;

    const phi = THREE.MathUtils.degToRad( 90 - effectController.elevation );
    const theta = THREE.MathUtils.degToRad( effectController.azimuth );

    sun.setFromSphericalCoords( 1, phi, theta );

    uniforms[ 'sunPosition' ].value.copy( sun );

    renderer.toneMappingExposure = effectController.exposure;
    renderer.render( scene, camera );

}

const gui = new GUI();

gui.add( effectController, 'turbidity', 0.0, 20.0, 0.1 ).onChange( guiChanged );
gui.add( effectController, 'rayleigh', 0.0, 4, 0.001 ).onChange( guiChanged );
gui.add( effectController, 'mieCoefficient', 0.0, 0.1, 0.001 ).onChange( guiChanged );
gui.add( effectController, 'mieDirectionalG', 0.0, 1, 0.001 ).onChange( guiChanged );
gui.add( effectController, 'elevation', 0, 90, 0.1 ).onChange( guiChanged );
gui.add( effectController, 'azimuth', - 180, 180, 0.1 ).onChange( guiChanged );
gui.add( effectController, 'exposure', 0, 1, 0.0001 ).onChange( guiChanged );

guiChanged();
首先,我们需要从 Three.js 的 examples 中导入 Sky 类:
import { Sky } from 'three/addons/objects/Sky.js'其次,我们需要在 sky 和 sun 前面添加 const:
const sky = new Sky();
// ...

const sun = new THREE.Vector3();
第三,删除 GUI 的实例化,因为我们已经有一个同名的了:
// const gui = new GUI();现在天空应该可以工作了。
在调整它之前,让我们稍微重构一下代码。这取决于你和你的编码风格,但以下是我的做法,采用:
- 不使用
; ()之间不加空格[]之间不加空格- 用箭头函数代替经典函数
guiChanged重命名为updateSkyeffectController重命名为skyParameters
const sky = new Sky()
sky.scale.setScalar(450000)
scene.add(sky)

const sun = new THREE.Vector3()

const skyParameters = {
    turbidity: 10,
    rayleigh: 3,
    mieCoefficient: 0.005,
    mieDirectionalG: 0.7,
    elevation: 2,
    azimuth: 180,
    exposure: renderer.toneMappingExposure
}

const updateSky = () =>
{
    const uniforms = sky.material.uniforms
    uniforms['turbidity'].value = skyParameters.turbidity
    uniforms['rayleigh'].value = skyParameters.rayleigh
    uniforms['mieCoefficient'].value = skyParameters.mieCoefficient
    uniforms['mieDirectionalG'].value = skyParameters.mieDirectionalG

    const phi = THREE.MathUtils.degToRad(90 - skyParameters.elevation)
    const theta = THREE.MathUtils.degToRad(skyParameters.azimuth)

    sun.setFromSphericalCoords(1, phi, theta)

    uniforms['sunPosition'].value.copy(sun)

    renderer.toneMappingExposure = skyParameters.exposure
    renderer.render(scene, camera)
}

gui.add(skyParameters, 'turbidity', 0.0, 20.0, 0.1).onChange(updateSky)
gui.add(skyParameters, 'rayleigh', 0.0, 4, 0.001).onChange(updateSky)
gui.add(skyParameters, 'mieCoefficient', 0.0, 0.1, 0.001).onChange(updateSky)
gui.add(skyParameters, 'mieDirectionalG', 0.0, 1, 0.001).onChange(updateSky)
gui.add(skyParameters, 'elevation', 0, 90, 0.1).onChange(updateSky)
gui.add(skyParameters, 'azimuth', - 180, 180, 0.1).onChange(updateSky)
gui.add(skyParameters, 'exposure', 0, 1, 0.0001).onChange(updateSky)

updateSky()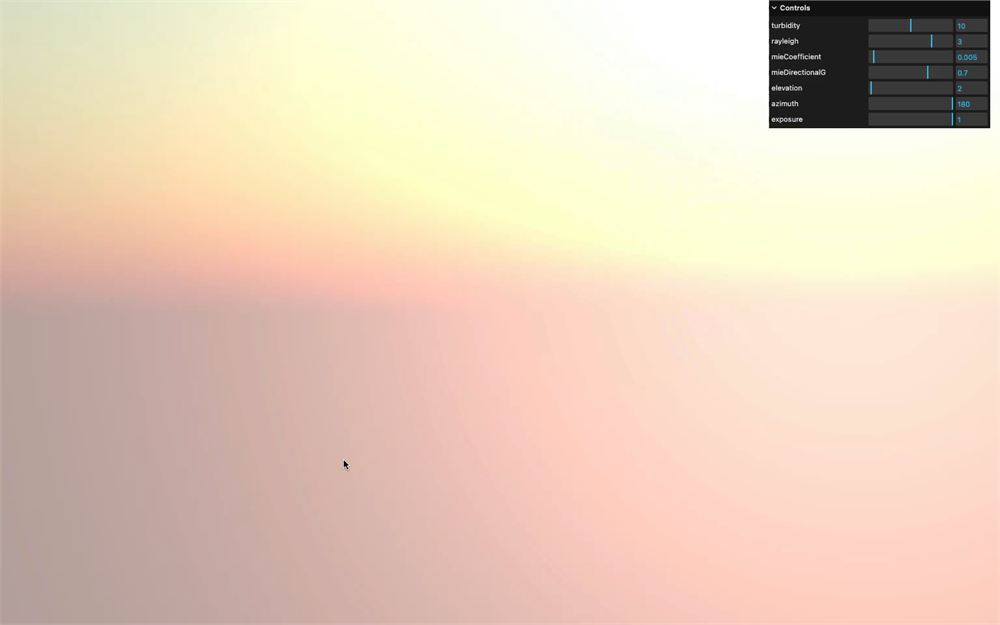
为了得到一个几乎像夜晚一样的暗色天空,你还应该将 'elevation' 的 min、max 和 step 设置为 -3、10 和 0.01:
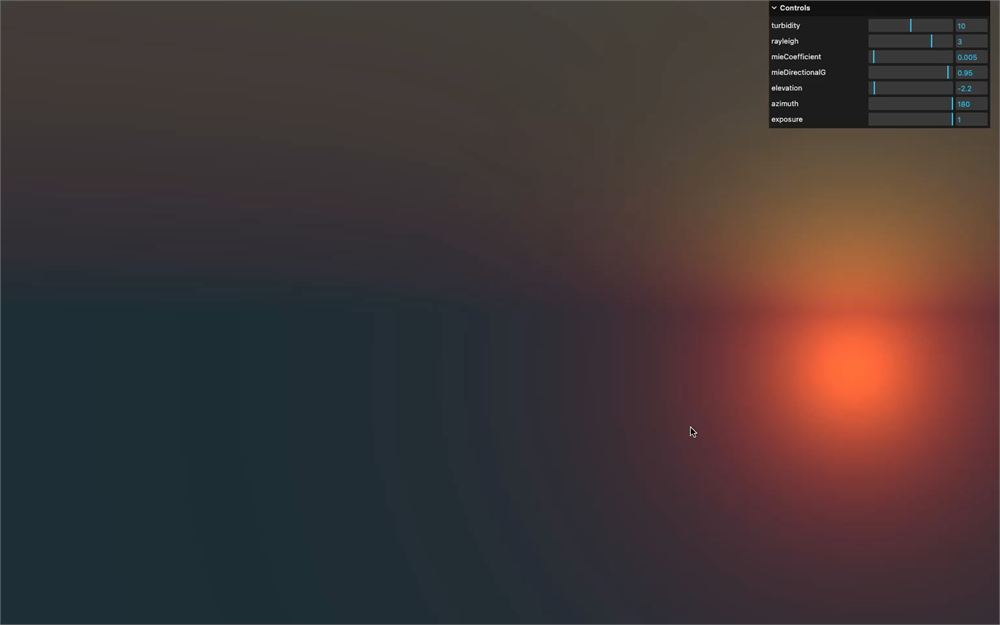
gui.add(skyParameters, 'elevation', -3, 10, 0.01).onChange(updateSky)玩得开心,找到一个好看的天空设置,然后将这些值添加到 skyParameters 对象中。
对我来说,会是:
const skyParameters = {
    turbidity: 10,
    rayleigh: 3,
    mieCoefficient: 0.005,
    mieDirectionalG: 0.95,
    elevation: -2.2,
    azimuth: 180,
    exposure: renderer.toneMappingExposure
}
分离 shader chunks
我们将把 remap 函数移动到一个单独的文件中并 include 它。
在 src/shaders/ 中,创建一个 includes/ 文件夹。
在 src/shaders/includes/ 文件夹中,创建一个 remap.glsl 文件,并将 remap 函数放入其中:
float remap(float value, float originMin, float originMax, float destinationMin, float destinationMax)
{
    return destinationMin + (value - originMin) * (destinationMax - destinationMin) / (originMax - originMin);
}
回到 vertex.glsl,用一个 #include 代替该函数:
// ...

#include ../includes/remap.glsl

void main()
{
    // ...
}
确保一切已保存,项目应该会像之前一样工作。
这不是强制性的,但被认为是良好的实践,它能让该函数在其他 shader 中轻松复用。
进一步探索
我们的课程就到此结束了。如你所见,在 vertex shader 中为 particles 做动画很难,尤其是当动画由多个阶段组成时。
尽可能多地、尽可能清晰地分离这些阶段会有很大帮助。
一如既往,请随意进一步探索。以下是一些建议:
- 添加更多 particles。我们有点保守,你可以添加多得多的 particles。
- 为
createFirework函数添加默认参数。 - 为 firework 函数添加更多参数。
- 使用不同的颜色,而不是统一的颜色。
- 改进 particles 在球体中的定位方式。我们使用的技术往往会把 particles 集中在两极。
- 添加声音。
- 处理球体以外的其他形状。你甚至可以尝试使用已加载模型的 geometry。